Nc6000 Battery Removal - HP Compaq Business Notebook
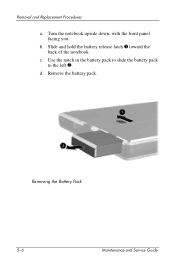
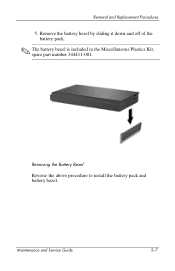
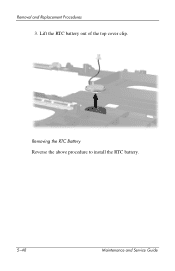
Nc6000 Battery Removal
Related Manual Pages


Similar Questions


How To Increase The Battery Backup?
(Posted by jayajaya905 10 years ago)
How To Remove Battery Of Hp Pavilion
(Posted by arjun1993 10 years ago)

Battery Removal G60-549dx
Can only see 1 latch & it dosn't move is there a second latch to unlock this one
Can only see 1 latch & it dosn't move is there a second latch to unlock this one
(Posted by waynegillespie 11 years ago)
Battery Removal
What holds it in , latch isn't moving & don't want to force it.
What holds it in , latch isn't moving & don't want to force it.
(Posted by waynegillespie 11 years ago)