HP ENVY TouchSmart 17-j186nr Research
View Results Below
Free HP ENVY TouchSmart 17-j186nr manuals!
Problems with HP ENVY TouchSmart 17-j186nr?
Ask a Question
Free HP ENVY TouchSmart 17-j186nr manuals!
Problems with HP ENVY TouchSmart 17-j186nr?
Ask a Question
Related Manual Pages


Similar Questions

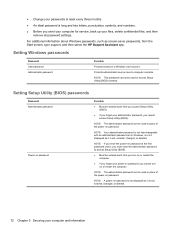
Will My Recover To Factory Setting Disks Remove A Locked Bios Password
(Posted by RAMHaam 9 years ago)

Hi, Is Hp Envy Touchsmart 17-j173ca. A Wireless Intel Dualban...?
(Posted by vidalmikasa 10 years ago)

Accessing Bios To Boot From Flash Drive
i work from home and have a company flash drive i need to access bios to have boot from flash drive....
i work from home and have a company flash drive i need to access bios to have boot from flash drive....
(Posted by yvettemjms 10 years ago)