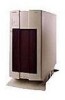
2500 Keyboard - Compaq ProLiant 64 MB RAM
2500 Keyboard
Related Manual Pages


Related Videos

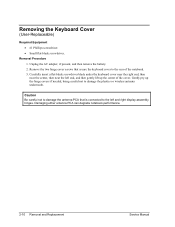
How to open Compaq Presario 2500 laptop keyboard
Duration: 3:31
Total Views: 38,119
Duration: 3:31
Total Views: 38,119
Similar Questions

Issue With Keyboard And Mouse.
I recently moved (today) and everything was working fine before I shut everything down and unplugged...
I recently moved (today) and everything was working fine before I shut everything down and unplugged...
(Posted by roguefalconer 12 years ago)
