Color imageCLASS LBP7110Cw Wireless - Canon
Color imageCLASS LBP7110Cw Wireless
View Results Below
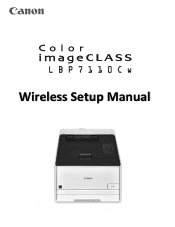
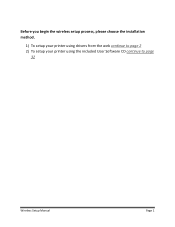
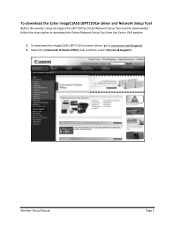
Free Canon Color imageCLASS LBP7110Cw manuals!
Problems with Canon Color imageCLASS LBP7110Cw?
Ask a Question
Free Canon Color imageCLASS LBP7110Cw manuals!
Problems with Canon Color imageCLASS LBP7110Cw?
Ask a Question
Related Manual Pages


Similar Questions

Can't Print Wireless
When I try to print wireless mi printer is offline Don; t know how to put it on line
When I try to print wireless mi printer is offline Don; t know how to put it on line
(Posted by fceja757 11 years ago)

Won't Install Wireless
My New Canon MX432 won't install wireless connection USB worked, but I want wireless
My New Canon MX432 won't install wireless connection USB worked, but I want wireless
(Posted by villagesgal 11 years ago)

Wireless Connect
CHANGED CABLE SERVICES AND NOW UNABLE TO GET IT TO CONNECT WIRELESSLY
CHANGED CABLE SERVICES AND NOW UNABLE TO GET IT TO CONNECT WIRELESSLY
(Posted by audcamp 11 years ago)