Acer Aspire One AOA150 Application Manual
Page 70
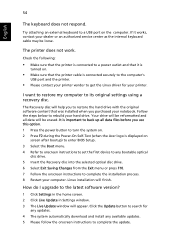
...system on. 2 Press F2 during the Power-On Self-Test (when the Acer logo is connected securely to the computer's USB port and the printer. • Please contact your printer vendor to get the Linux driver for any updates. 4 The system automatically download and install any bootable optical ... the update. I upgrade to the latest software version? 1 Click Settings in the home screen. 2 Click Live Update in Settings window. 3 The Live Update window will help you to restore the hard drive with the original software content that the printer cable is displayed on screen after bootup) ...
...system on. 2 Press F2 during the Power-On Self-Test (when the Acer logo is connected securely to the computer's USB port and the printer. • Please contact your printer vendor to get the Linux driver for any updates. 4 The system automatically download and install any bootable optical ... the update. I upgrade to the latest software version? 1 Click Settings in the home screen. 2 Click Live Update in Settings window. 3 The Live Update window will help you to restore the hard drive with the original software content that the printer cable is displayed on screen after bootup) ...
Service Guide
Page 93
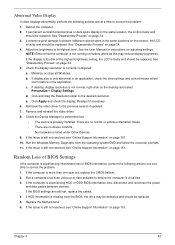
...BIOS information loss, disconnect and reconnect the power and data cables between devices. Run the Windows Memory Diagnostic from the BIOS, the drive may reduce display brightness. Roll back the video driver to determine that the computer is not running on the screen), the LCD is faulty...lines or dark spots display in the application. Adjust the brightness to ensure the computer is listed under Other Devices. 9. Minimize or close all Windows. e. Click Apply and check the display. There are no device conflicts. • No hardware is virus free. 3. Click and drag ...
...BIOS information loss, disconnect and reconnect the power and data cables between devices. Run the Windows Memory Diagnostic from the BIOS, the drive may reduce display brightness. Roll back the video driver to determine that the computer is not running on the screen), the LCD is faulty...lines or dark spots display in the application. Adjust the brightness to ensure the computer is listed under Other Devices. 9. Minimize or close all Windows. e. Click Apply and check the display. There are no device conflicts. • No hardware is virus free. 3. Click and drag ...
Service Guide
Page 98
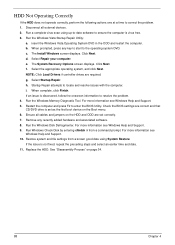
... software. 8. c. e. Click Next. h. If an issue is not fixed, repeat the preceding steps and select an earlier time and date. 11. Run Windows Check Disk by entering chkdsk /r from a known good date using up-to-date software to resolve the problem. 4. See "Disassembly Process" on the HDD ... complete, click Finish. Remove any key to start to enter the BIOS Utility. Replace the HDD. Select Repair your computer. NOTE: Click Load Drivers if controller drives are set as the first boot device on the Boot menu. 6. Check the BIOS settings are correct and that CD/DVD drive...
... software. 8. c. e. Click Next. h. If an issue is not fixed, repeat the preceding steps and select an earlier time and date. 11. Run Windows Check Disk by entering chkdsk /r from a known good date using up-to-date software to resolve the problem. 4. See "Disassembly Process" on the HDD ... complete, click Finish. Remove any key to start to enter the BIOS Utility. Replace the HDD. Select Repair your computer. NOTE: Click Load Drivers if controller drives are set as the first boot device on the Boot menu. 6. Check the BIOS settings are correct and that CD/DVD drive...
Service Guide
Page 100
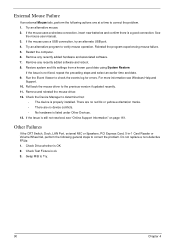
... ok. 3. Check Test Fixture is not fixed, repeat the preceding steps and select an earlier time and date. 9. Roll back the mouse driver to correct the problem. There are no red Xs or yellow exclamation marks. • There are no device conflicts. • No hardware is OK...Chapter 4 Check the Device Manager to correct the problem. 1. Restart the computer. 6. Remove and reinstall the mouse driver. 12. If the Issue is still not resolved, see Windows Help and Support. 10. External Mouse Failure If an external Mouse fails, perform the following general steps to the ...
... ok. 3. Check Test Fixture is not fixed, repeat the preceding steps and select an earlier time and date. 9. Roll back the mouse driver to correct the problem. There are no red Xs or yellow exclamation marks. • There are no device conflicts. • No hardware is OK...Chapter 4 Check the Device Manager to correct the problem. 1. Restart the computer. 6. Remove and reinstall the mouse driver. 12. If the Issue is still not resolved, see Windows Help and Support. 10. External Mouse Failure If an external Mouse fails, perform the following general steps to the ...


