
Toshiba Satellite C855-S5236 Support Question
Toshiba Satellite C855-S5236 Support Question
Find answers below for this question about Toshiba Satellite C855-S5236.Need a Toshiba Satellite C855-S5236 manual? We have 1 online manual for this item!
Question posted by thedaqu on July 6th, 2014
How To Replace Screen On Toshiba Satellite C855
The person who posted this question about this Toshiba product did not include a detailed explanation. Please use the "Request More Information" button to the right if more details would help you to answer this question.
Current Answers
Related Toshiba Satellite C855-S5236 Manual Pages
User Guide - Page 1
At this guide. GMAD00297010 03/12 Satellite®/Satellite Pro® C800 Series User's Guide
If you will find answers for many commonly asked technical questions plus many downloadable software drivers, BIOS updates...For more information, see "If Something Goes Wrong" on page 135 in this Web site, you need assistance: Technical support is available online at Toshiba's Web site at support...
User Guide - Page 2
...;/Satellite Pro® C800 Series
Recordable and/or ReWritable Drive(s) and Associated Software Warranty
The computer system you may include Recordable and/or ReWritable optical disc drive(s) and associated software, among the most advanced data storage technologies available. TOSHIBA AMERICA INFORMATION SYSTEMS, INC. ("TOSHIBA"), ITS AFFILIATES AND SUPPLIERS DO NOT WARRANT THAT OPERATION...
User Guide - Page 7
7
Wireless Interoperability
The TOSHIBA Wireless LAN Mini PCI Card products are allocated as primary users of Electrical and Electronics Engineers.
❖ The Wireless Fidelity (Wi-Fi®) certification as defined and approved by the Wi-Fi Alliance.
FCC requires this device.
NOTE
The above caution applies to co-channel Mobile Satellite systems.
High...
User Guide - Page 19
... activity or was encoded by the Bluetooth SIG, Inc. 19
Trademarks
Satellite and Satellite Pro are trademarks or registered trademarks of HDMI Licensing, LLC.
Other ...trademarks and trade names are registered trademarks of MultiMediaCard Association. Energy Star is a registered mark owned by Toshiba...
User Guide - Page 44
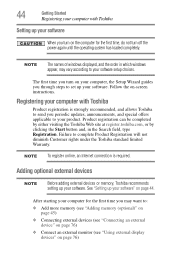
... product. NOTE To register online, an Internet connection is strongly recommended, and allows Toshiba to your software.
The first time you periodic updates, announcements, and special offers ... page 76)
❖ Connect an external monitor (see "Using external display devices" on -screen instructions. NOTE
The names of windows displayed, and the order in the Search field, type Registration...
User Guide - Page 45
...the accessories information packaged with your software. NOTE
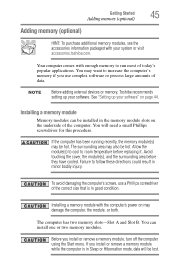
Before adding external devices or memory, Toshiba recommends setting up your software" on may want to run most of the correct ...underside of data.
Avoid touching the cover, the module(s), and the surrounding area before replacing it. Before you use a Phillips screwdriver of today's popular applications. Installing a memory...
User Guide - Page 55
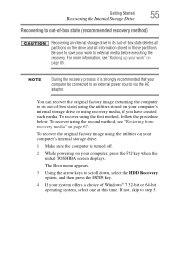
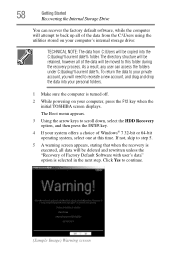
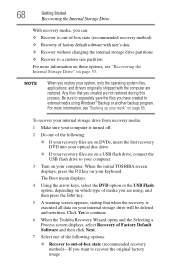
...'s internal storage drive or using the first method, follow the procedure below. Be sure to save your computer, press the F12 key when the initial TOSHIBA screen displays. To recover the original factory image using the utilities stored on your computer be connected to external media before executing the recovery.
To recover...
User Guide - Page 56
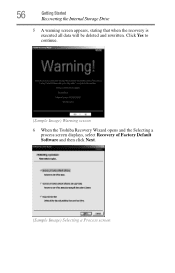
Click Yes to continue.
(Sample Image) Warning screen
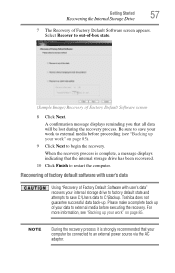
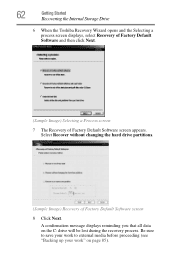
6 When the Toshiba Recovery Wizard opens and the Selecting a process screen displays, select Recovery of Factory Default Software and then click Next.
(Sample Image) Selecting a Process screen 56
Getting Started
Recovering the Internal Storage Drive
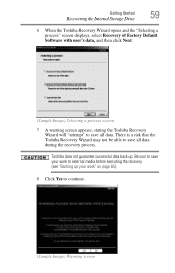
5 A warning screen appears, stating that when the recovery is executed all data will...
User Guide - Page 57
...(see "Backing up your data to C:\Backup. Toshiba does not guarantee successful data back-up of Factory Default Software screen
8 Click Next.
For more information, see "Backing....
Recovering of factory default software with user's data
Using "Recovery of Factory Default Software screen appears. Getting Started
57
Recovering the Internal Storage Drive
7 The Recovery of Factory Default ...
User Guide - Page 58
...backup%current date%. Click Yes to your computer, press the F12 key when the initial TOSHIBA screen displays. As a result, any user can recover the factory default software, while the ... directory structure will be retained, however all data will be moved to step 5.
5 A warning screen appears, stating that when the recovery is executed, all of Factory Default Software with user's data...
User Guide - Page 59
... successful data back up your work " on page 85). 8 Click Yes to save all data. Getting Started
59
Recovering the Internal Storage Drive
6 When the Toshiba Recovery Wizard opens and the "Selecting a process" screen displays, select Recovery of Factory Default Software with user's data, and then click Next.
(Sample Image) Selecting a process...
User Guide - Page 61
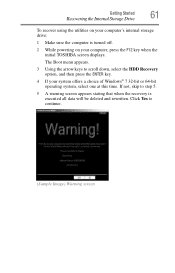
... press the F12 key when the initial TOSHIBA screen displays. The Boot menu appears.
3 Using the arrow keys to continue.
(Sample Image) Warning screen Getting Started
61
Recovering the Internal Storage ...executed all data will be deleted and rewritten. If not, skip to step 5.
5 A warning screen appears stating that when the recovery is turned off.
2 While powering on your system offers a ...
User Guide - Page 62
...the hard drive partitions.
(Sample Image) Recovery of Factory Default Software screen appears. A confirmation message displays reminding you that all data on page.... 62
Getting Started
Recovering the Internal Storage Drive
6 When the Toshiba Recovery Wizard opens and the Selecting a process screen displays, select Recovery of Factory Default Software and then click Next.
(Sample Image)...
User Guide - Page 63
... you to scroll down, select the HDD Recovery option, and then press the ENTER key.
4 If your computer, press the F12 key when the initial TOSHIBA screen displays.
If not, skip to begin the recovery.
To resize and recover the C: drive using the first method, follow the procedure below.
Getting Started
63...
User Guide - Page 64
64
Getting Started
Recovering the Internal Storage Drive
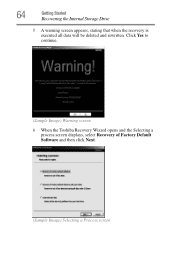
5 A warning screen appears, stating that when the recovery is executed all data will be deleted and rewritten. Click Yes to continue.
(Sample Image) Warning screen
6 When the Toshiba Recovery Wizard opens and the Selecting a process screen displays, select Recovery of Factory Default Software and then click Next...
User Guide - Page 67
...flash drive, connect a USB flash drive of the required minimum capacity (as specified in the TOSHIBA Recovery Media Creator utility) to complete the copy process. If you have created with the preceding...use blank media.
5 Click the Create button in the TOSHIBA Recovery Media Creator utility dialog box.
6 Follow the on-screen prompts to your system from recovery media
The recovery process ...
User Guide - Page 68
When the initial TOSHIBA screen displays, press the F12 key on which type of media you are not restored during ...your computer is executed all data on your work" on page 53. Click Yes to continue.
6 When the Toshiba Recovery Wizard opens and the Selecting a Process screen displays, select Recovery of Factory Default Software and then click Next.
7 Select one of the following options:
...
User Guide - Page 69
...recover the C: partition only, leaving other partitions from the internal storage drive:
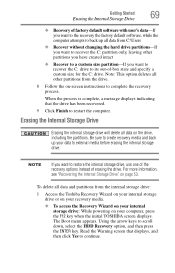
1 Access the Toshiba Recovery Wizard on your internal storage drive or on your recovery media.
❖ To access the...the computer attempts to back up your computer, press the F12 key when the initial TOSHIBA screen displays.
Using the arrow keys to restore the internal storage drive, use one of the...
User Guide - Page 70
...TOSHIBA screen displays, press F12.
Select Toshiba Recovery Wizard, and then click Next.
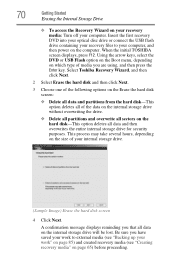
2 Select Erase the hard disk and then click Next.
3 Choose one of the following options on the Erase the hard disk screen... (see "Backing up your internal storage drive.
(Sample Image) Erase the hard disk screen
4 Click Next. 70
Getting Started
Erasing the Internal Storage Drive
❖ To access ...
User Guide - Page 75
... select an item or text on the screen, and potentially the item or text may be replaced by sliding your finger on the screen. To disable tapping only, use the ...screen pointer may seem to move the pointer by itself" to touch or button presses while you can still use the Mouse Properties option in the Windows® Control Panel.
For more information, please visit support.toshiba...
Similar Questions

What Display Driver Does Toshiba Satellite C855-s5236
(Posted by sannrollov 9 years ago)

How To Replace Toshiba Satellite L745-s4110 Laptop Screen
(Posted by hamikKarl 9 years ago)

Can A Toshiba Satellite C855-s5236 Work With The Battery Removed
(Posted by lixxemroebe 9 years ago)

Where Can I Find A Replacement Screen For My Toshibasatellite L500d-174
(Posted by dorisarreybawak 11 years ago)

Replacement Screen Part #
Hi I am looking to replace my sreen on my toshiba C855-S5236 satelitte laptop. I am havine trouble f...
Hi I am looking to replace my sreen on my toshiba C855-S5236 satelitte laptop. I am havine trouble f...
(Posted by lisahahn 11 years ago)