User Manual
Page 4
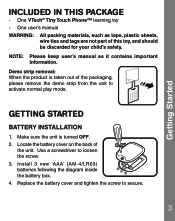
... the unit. Replace the battery cover and tighten the screw to loosen the screw. 3. Demo strip removal: When the product is turned OFF. 2. One VTech® Tiny Touch Phone™ learning toy - Install 3 new 'AAA' (AM-4/LR03) batteries following the diagram inside the battery box. 4. GETTING STARTED BATTERY INSTALLATION 1. Getting Started INCLUDED IN THIS PACKAGE...
... the unit. Replace the battery cover and tighten the screw to loosen the screw. 3. Demo strip removal: When the product is turned OFF. 2. One VTech® Tiny Touch Phone™ learning toy - Install 3 new 'AAA' (AM-4/LR03) batteries following the diagram inside the battery box. 4. GETTING STARTED BATTERY INSTALLATION 1. Getting Started INCLUDED IN THIS PACKAGE...
User Manual
Page 5
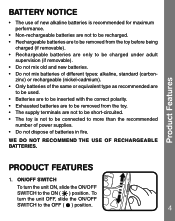
...are to be inserted with the correct polarity. • Exhausted batteries are to be removed from the toy. • The supply terminals are not to be short-circuited. • The toy is recommended for maximum performance. • Non-rechargeable batteries are not to be recharged. • ...Rechargeable batteries are to be removed from the toy before being charged (if removable). • Rechargeable batteries are only to be connected to the ON ( ) position. PRODUCT FEATURES 1. To 2...
...are to be inserted with the correct polarity. • Exhausted batteries are to be removed from the toy. • The supply terminals are not to be short-circuited. • The toy is recommended for maximum performance. • Non-rechargeable batteries are not to be recharged. • ...Rechargeable batteries are to be removed from the toy before being charged (if removable). • Rechargeable batteries are only to be connected to the ON ( ) position. PRODUCT FEATURES 1. To 2...


