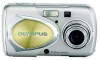
Olympus Stylus 400 Parts - 4MP Digital Camera
Olympus Stylus 400 Parts
View Results Below
Free Olympus Stylus 400 manuals!
Problems with Olympus Stylus 400?
Ask a Question
Free Olympus Stylus 400 manuals!
Problems with Olympus Stylus 400?
Ask a Question
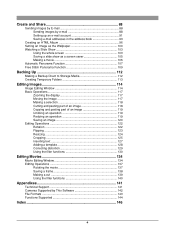
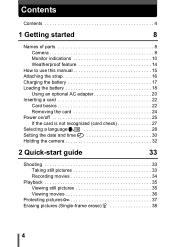
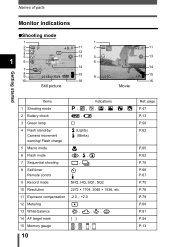
Related Manual Pages


Similar Questions

Battery/card Compartment Cover
Dear Sir, I just want to know where can i find, buy or order Battery/Card cover for my Olympus SP c...
Dear Sir, I just want to know where can i find, buy or order Battery/Card cover for my Olympus SP c...
(Posted by arviaus 11 years ago)

Tripod Holder Screw, Female Part.
I have an SP550 OUZ, the female part ouder the camera where the tripod screw goes into has stripped,...
I have an SP550 OUZ, the female part ouder the camera where the tripod screw goes into has stripped,...
(Posted by arthur06 11 years ago)

Where Do I Finf An Olympus E-330 Exploded Parts View?
where do I finf an olympus e-330 exploded parts view?
where do I finf an olympus e-330 exploded parts view?
(Posted by toglen 11 years ago)