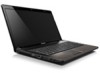
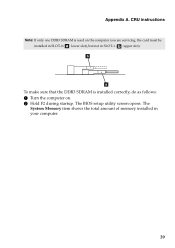
Lenovo G570 Memory
Related Manual Pages
Related Videos

Lenovo G470/G570/G770 laptops
Duration: 1:51
Total Views: 223,034
Duration: 1:51
Total Views: 223,034
Lenovo G470/G570/G770
Duration: 1:51
Total Views: 1,414
Duration: 1:51
Total Views: 1,414
Similar Questions


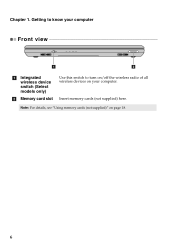
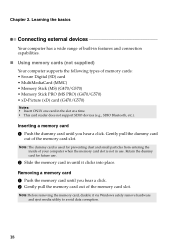
Using Memory Card
when i insert my memory card in my lenovo G475 it does not open or read the card.what could be the p...
when i insert my memory card in my lenovo G475 it does not open or read the card.what could be the p...
(Posted by rutarogerald 10 years ago)


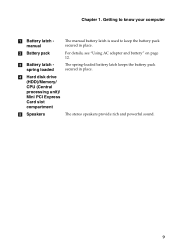
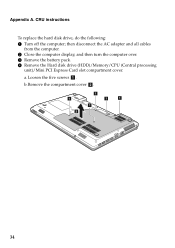
Lenovo G570 Dedicated Vga Memory
I have Lenovo G570 with Intel onboard VGA and dedicated memory of 64mb, when I start playing PES2012...
I have Lenovo G570 with Intel onboard VGA and dedicated memory of 64mb, when I start playing PES2012...
(Posted by mohrefaat 11 years ago)

Lenovo G570, When I Insert A Memory Card Into The Card Reader Nothing Happens
(Posted by Anonymous-60940 11 years ago)