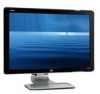
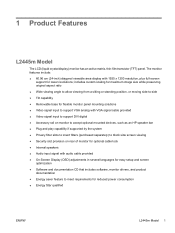
W2408h Audio - HP 24 LCD Monitor
Related Manual Pages


Similar Questions

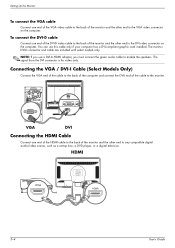
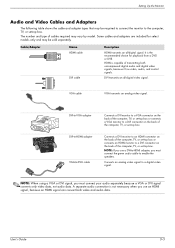
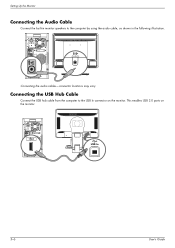
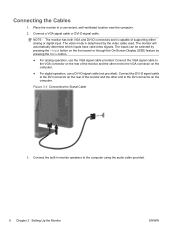
Audio Cable Connection
Please show me how to connect audio cable on HP536A
Please show me how to connect audio cable on HP536A
(Posted by sugathan33 10 years ago)

Hp W1907 Lcd Monitor Audio Cable Part Number
Can you provide the part number for an audio cable to suit the HP w1907 LCD Monitor and where I can ...
Can you provide the part number for an audio cable to suit the HP w1907 LCD Monitor and where I can ...
(Posted by noelandwilma 11 years ago)

How To Raise Audio Volume
Raising the speaker volume cannot locate volume controls.
Raising the speaker volume cannot locate volume controls.
(Posted by lorilori1 13 years ago)