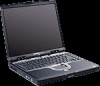
Presario 1800 Hinge - Compaq Notebook PC
Presario 1800 Hinge
View Results Below
Free Compaq Presario 1800 manuals!
Problems with Compaq Presario 1800?
Ask a Question
Free Compaq Presario 1800 manuals!
Problems with Compaq Presario 1800?
Ask a Question
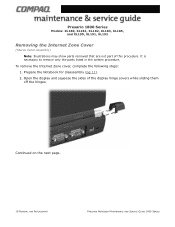
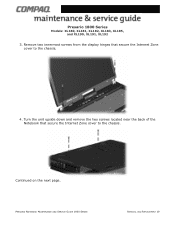
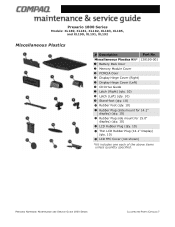
Related Manual Pages

Similar Questions


Compaq Presario V5000 How To Change Hinges
(Posted by EkseaMark1 10 years ago)
Compaq Nc6220 Hinge
One of the hinges has pulled out of the case, is there a part number and who sells it?
One of the hinges has pulled out of the case, is there a part number and who sells it?
(Posted by cschav 12 years ago)