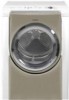
Bosch WTMC552CUC - Nexxt 500 Series Gas Dryer Research
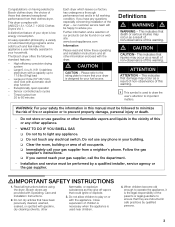
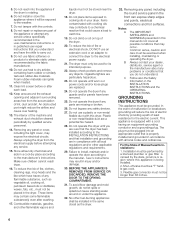
Related Manual Pages


Similar Questions

Hi. I Have A Nexxt Series Gas Dryer. Model Number Is Wtmc3521uc/06 Fd8808 300
My dryer door hinges on the right side. It is completely broken and the door has fallen off. I assum...
My dryer door hinges on the right side. It is completely broken and the door has fallen off. I assum...
(Posted by dbaeteague 2 years ago)

Bosch 500 Series Gas Dryer Wrinkle Block Will Not Run
(Posted by okrm 9 years ago)

How To Reset Bosch Nexxt 500 Dryer High-limit Cut Out Switch
(Posted by maurimarc 10 years ago)