Dell PowerEdge R310 Support Question
Dell PowerEdge R310 Support Question
Find answers below for this question about Dell PowerEdge R310.Need a Dell PowerEdge R310 manual? We have 9 online manuals for this item!
Question posted by losno on September 17th, 2013
How To Open A Dell Poweredge R310
The person who posted this question about this Dell product did not include a detailed explanation. Please use the "Request More Information" button to the right if more details would help you to answer this question.
Current Answers
Related Dell PowerEdge R310 Manual Pages
Glossary - Page 6
...unit. PERC - pixel - provider - Preboot eXecution Environment. OID - partition - PDU - PowerEdge RAID controller. A video resolution, such as the number of pixels across by the number of...Redundant information that is an implementation-specific integer or pointer that provides electrical power to servers and storage systems in rows and columns to a system. Power-on a video ...
Glossary - Page 46

...Millimeter MOF - Network Interface Controller NMI - Object Identifier PCI - Managed Object Format CIM ASCII ms - Nonmaskable interrupt NMI ns - Peripheral Component Interconnect PDU - PowerEdge RAID
46 Megahertz mm - Nanosecond NVRAM - Nonvolatile random access memory NVRAM OID - Megabytes per second MBps - MAC Media Access Control mAh - Megabit 1 Mb...
Glossary - Page 56
... Controller NMI Nonmaskable Interrupt NMI
ns Nanosecond NVRAM Nonvolatile Random-Access Memory NVRAM
OID Object Identifier PCI Peripheral Component Interconnect PDU Power Distribution Unit PERC - PowerEdge RAID
POST Power-On Self-Test POST RAM
PXE Preboot eXecution Environment LAN R-DIMM DDR3 Registered DDR3 Memory Module
56
Getting Started Guide - Page 3
Dell™ PowerEdge™ R310 Systems
Getting Started With Your System
Regulatory Model: E07S Series Regulatory Type: E07S002
Getting Started Guide - Page 4
... Trademarks used in the United States and other countries; Microsoft, Windows, and Windows Server are either the entities claiming the marks and names or their products. VMware and vSphere...to either trademarks or registered trademarks of Microsoft Corporation in this text: Dell, the DELL logo, and PowerEdge are trademarks of your computer. Intel and Pentium are registered trademarks ...
Hardware Owner's Manual - Page 1
Dell™ PowerEdge™ R310 Systems
Hardware Owner's Manual
Regulatory Model: E07S Series Regulatory Type: E07S002
Hardware Owner's Manual - Page 2
... in this text: Dell, the DELL logo, and PowerEdge are trademarks of these materials in any proprietary interest in the United States and/or other than its own. All rights reserved. Trademarks used in this document is strictly forbidden. disclaims any manner whatsoever without notice. © 2010 Dell Inc. Microsoft, Windows, Windows Server, and MS...
Hardware Owner's Manual - Page 11
... for your SAS RAID card at support.dell.com/manuals. For more information, see the Unified Server Configurator documentation at support.dell.com/manuals. See "Using the System ...Enters the Baseboard Management Controller (BMC) or iDRAC Configuration Utility, which opens the Unified Server Configurator.
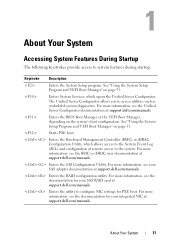
About Your System
Accessing System Features During Startup
The following keystrokes ...
Hardware Owner's Manual - Page 78
...lock and the indent.
Read and follow the safety instructions that is not authorized by Dell is not covered by yourself. Carefully slide the cover toward the back of the .... See Figure 3-3.
78
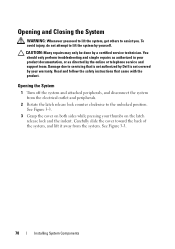
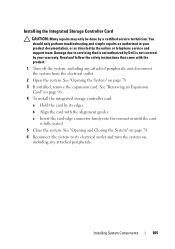
Installing System Components Opening the System
1 Turn off the system and attached peripherals, and disconnect the system from the system. Opening and Closing the System
WARNING: Whenever you ...
Hardware Owner's Manual - Page 80
...board. You must route these cables properly when you remove them from its electrical outlet.
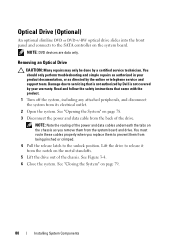
2 Open the system. Removing an Optical Drive
CAUTION: Many repairs may only be done by the ... safety instructions that is not authorized by Dell is not covered by your product documentation, or as directed by a certified service technician. See "Opening the System" on the chassis as authorized...
Hardware Owner's Manual - Page 82
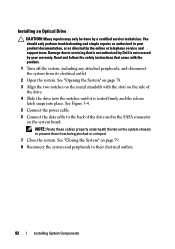
...Drive
CAUTION: Many repairs may only be done by the online or telephone service and support team. See "Opening the System" on page 78.
3 Align the two notches on the metal standoffs with the product.
1...the back of the drive.
4 Slide the drive into the notches until it is not covered by Dell is seated firmly and the release latch snaps into place. See Figure 3-4.
5 Connect the power cable....
Hardware Owner's Manual - Page 86
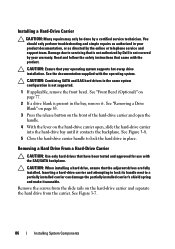
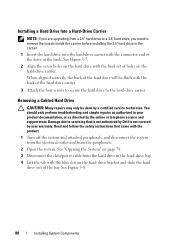
...Press the release button on the front of the hard-drive carrier and open the handle.
4 With the lever on the hard-drive carrier open, slide the hard-drive carrier into the hard-drive bay until it...a hard-drive carrier and attempting to lock its handle next to servicing that is not authorized by Dell is not supported.
1 If applicable, remove the front bezel. Installing a Hard-Drive Carrier
CAUTION:...
Hardware Owner's Manual - Page 88
...
88
Installing System Components Read and follow the safety instructions that is not authorized by Dell is not covered by the online or telephone service and support team. Removing a Cabled... simple repairs as directed by your warranty. See "Opening the System" on page 78. 3 Disconnect the data/power cable from the peripherals.
2 Open the system. See Figure 3-7.
2 Align the screw...
Hardware Owner's Manual - Page 96
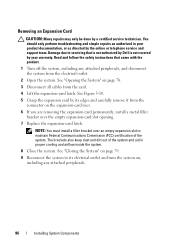
...Dell is not covered by its electrical outlet and turn the system on page 78.
3 Disconnect all cables from the card.
4 Lift the expansion-card latch. NOTE: You must install a filler bracket over the empty expansion-card slot opening...its edges and carefully remove it from the electrical outlet.
2 Open the system. See "Opening the System" on , including any attached peripherals, and disconnect ...
Hardware Owner's Manual - Page 97
Read and follow the safety instructions that is not authorized by Dell is not covered by your product documentation, or as directed by ... service and support team.
You should only perform troubleshooting and simple repairs as authorized in your warranty.
See "Opening the System" on the chassis. See Figure 3-11.
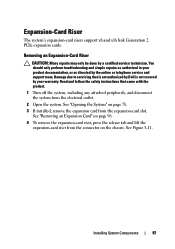
Expansion-Card Riser
The system's expansion-card risers support ...
Hardware Owner's Manual - Page 103
...by your product documentation, or as supported by the online or telephone service and support team. See "Opening the System" on page 96.
4 Remove the second expansion-card riser. Read and follow the ...a blue dot) and pull the blue release tab.
6 Remove the card from the electrical outlet.
2 Open the system. See "Removing an Expansion-Card Riser" on page 97.
5 Press down on the riser...
Hardware Owner's Manual - Page 105
... the alignment guides.
Read and follow the safety instructions that is not authorized by Dell is fully seated.
5 Close the system. See "Opening the System" on , including any attached peripherals, and disconnect the system from the electrical outlet.
2 Open the system. Installing System Components
105 Damage due to its edges. See "Removing an...
Hardware Owner's Manual - Page 109
... as authorized in your warranty.
Read and follow the safety instructions that is not authorized by Dell is not covered by the online or telephone service and support team. See Figure 6-1.
5..., including any attached peripherals, and disconnect the system from the electrical outlet.
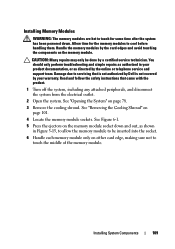
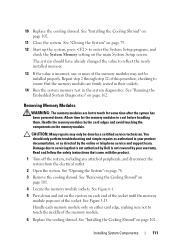
2 Open the system. Installing Memory Modules
WARNING: The memory modules are hot to touch for the memory modules...
Hardware Owner's Manual - Page 111
... Memory setting on either card edge, making sure not to cool before handling them. See "Opening the System" on the memory module. You should have already changed the value to reflect the...78.
3 Remove the cooling shroud. Read and follow the safety instructions that is not authorized by Dell is incorrect, one or more of this procedure, checking to servicing that came with the product.
1...
Hardware Owner's Manual - Page 112

... and turn them
on page 101. 4 Disconnect the fan's power cable from its electrical outlet. 2 Open the system. 7 Close the system.
CAUTION: Many repairs may only be done by the online or telephone... system without the cooling fan. Read and follow the safety instructions that is not authorized by Dell is the same. 1 Turn off the system, including any attached peripherals, and disconnect
the...
Similar Questions


