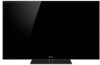
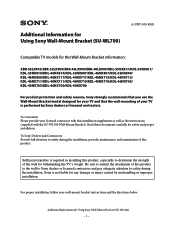
KDL-40NX711 Tv - Sony 40 Bravia Nx700 Series Hdtv
KDL-40NX711 Tv
Related Manual Pages


Similar Questions

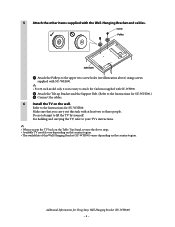
What Size Bolts Do I Need To Mount Thiw Tv
(Posted by laverne9223 9 years ago)

My Tv Sony Moolithic Design Keeps Displaying Ntsc Unrated.
am in Nigeria by my TV sony moolithic design keeps displaying ntsc unrated. could not watch DVD and ...
am in Nigeria by my TV sony moolithic design keeps displaying ntsc unrated. could not watch DVD and ...
(Posted by georgebrwn601 12 years ago)
Tv Sony Moolithic Design Keeps Displaying Ntsc Unrated.
am in Nigeria by my TV sony moolithic design keeps displaying ntsc unrated. so I could not watch DVD...
am in Nigeria by my TV sony moolithic design keeps displaying ntsc unrated. so I could not watch DVD...
(Posted by georgebrwn601 12 years ago)

Tv Frequency
Please advise if TV with frequency of 60Hz can operate properly with main power of 220V - 240V AC, 5...
Please advise if TV with frequency of 60Hz can operate properly with main power of 220V - 240V AC, 5...
(Posted by chautiena 12 years ago)

Reset Tv Without A Remote Control
Red light flashing 5 times. TV tech replaced part for no green tint in picture color with no results...
Red light flashing 5 times. TV tech replaced part for no green tint in picture color with no results...
(Posted by hotrodas 13 years ago)