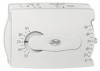
How To Install Hunter 40170
Related Manual Pages


Similar Questions


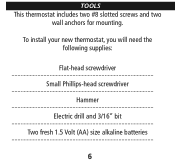
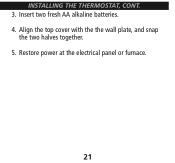
Installed New Batteries
just installed new batteries. system will not work. all lights in box are lit simultaneously
just installed new batteries. system will not work. all lights in box are lit simultaneously
(Posted by tjchristianson 10 years ago)

How To Install With 2 Wires Only
i have gas/electric furnace. but only have a 2 wire hook up on my old thermostat. i have heat only. ...
i have gas/electric furnace. but only have a 2 wire hook up on my old thermostat. i have heat only. ...
(Posted by plittledeb 11 years ago)