Presario X1000 Keyboard Removal - HP Notebook PC
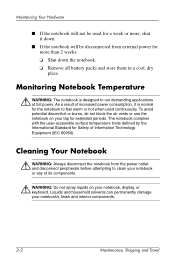
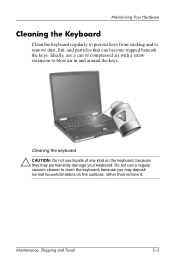
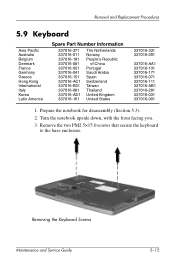
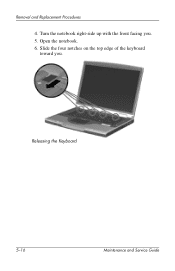
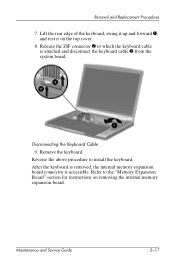
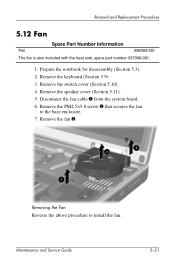
Presario X1000 Keyboard Removal
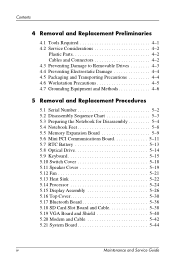
Related Manual Pages


Similar Questions

How To Remove The Cover Off Of A Compaq Presario X1000
(Posted by pfgpMarc 9 years ago)


Hp Elitebook 2530p How To Keyboard Removal
(Posted by fiManue 10 years ago)

