Inspiron 15 N5050 Service Manual
Page 28
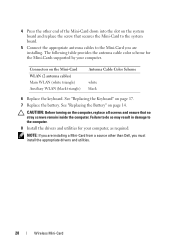
...computer, replace all screws and ensure that secures the Mini-Card to the system board. 5 Connect the appropriate antenna cables to the computer. 8 Install the drivers and utilities for the Mini-Cards supported by your computer, as required. NOTE: If you must install the appropriate... drivers and utilities. 28 Wireless Mini-Card CAUTION: Before turning on the Mini-Card WLAN (2 antenna cables) Main WLAN (white triangle) Auxiliary WLAN (black triangle) ...
...computer, replace all screws and ensure that secures the Mini-Card to the system board. 5 Connect the appropriate antenna cables to the computer. 8 Install the drivers and utilities for the Mini-Cards supported by your computer, as required. NOTE: If you must install the appropriate... drivers and utilities. 28 Wireless Mini-Card CAUTION: Before turning on the Mini-Card WLAN (2 antenna cables) Main WLAN (white triangle) Auxiliary WLAN (black triangle) ...
Inspiron 15 N5050 Service Manual
Page 37
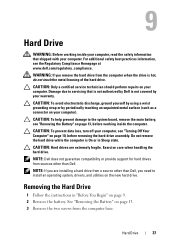
Exercise care when handling the hard drive. CAUTION: To prevent data loss, turn off your computer, read the safety information that is not authorized by Dell is On or in "Before You Begin" on page 9. 2 Remove the battery. Removing the Hard Drive 1 Follow the instructions in Sleep state. CAUTION... Hard drives are installing a hard drive from the computer base. NOTE: If you are extremely fragile. Damage due to install an operating system, drivers, and utilities on the new hard drive. See "Removing the Battery" on page 13. 3 Remove the two screws from a source other than...
Exercise care when handling the hard drive. CAUTION: To prevent data loss, turn off your computer, read the safety information that is not authorized by Dell is On or in "Before You Begin" on page 9. 2 Remove the battery. Removing the Hard Drive 1 Follow the instructions in Sleep state. CAUTION... Hard drives are installing a hard drive from the computer base. NOTE: If you are extremely fragile. Damage due to install an operating system, drivers, and utilities on the new hard drive. See "Removing the Battery" on page 13. 3 Remove the two screws from a source other than...


