Canon Color imageCLASS LBP622Cdw Research
View Results Below
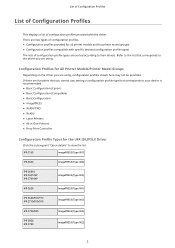
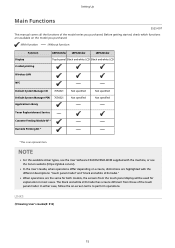
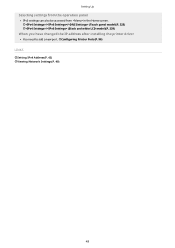
Free Canon Color imageCLASS LBP622Cdw manuals!
Problems with Canon Color imageCLASS LBP622Cdw?
Ask a Question
Free Canon Color imageCLASS LBP622Cdw manuals!
Problems with Canon Color imageCLASS LBP622Cdw?
Ask a Question
Related Manual Pages


Related Videos

Canon Color imageCLASS LBP622Cdw Feature Video
Duration: 1:02
Total Views: 2,970
Duration: 1:02
Total Views: 2,970
Similar Questions

My Printer Won't Print!
My printer won't print, I bought this printer two weeks ago and it worked just fine until today. I c...
My printer won't print, I bought this printer two weeks ago and it worked just fine until today. I c...
(Posted by fellyvelicia 8 years ago)

Printer Won't Print-error
the printer won't print. it is flashing what looks like a small circle going up and down.
the printer won't print. it is flashing what looks like a small circle going up and down.
(Posted by wwitty1 9 years ago)

Printer Is Not Printing
I have an ipad. I bought this printer knowing it should work effortlessly with the ipad. But it does...
I have an ipad. I bought this printer knowing it should work effortlessly with the ipad. But it does...
(Posted by Jilldenning 11 years ago)