Get support for Dell Inspiron One 2330

Dell Inspiron One 2330 Support Question

Dell Inspiron One 2330 Support Question

Find answers below for this question about Dell Inspiron One 2330.
Need a Dell Inspiron One 2330 manual? We have 2 online manuals for this item!
Question posted by compuMom on March 3rd, 2013

Wireless Connection Not Working.

Other computers on same wireless network work fine.  I can occasionally connect with the 2330, but drops off quickly.

Current Answers

Answer #1: Posted by DellJesse1 on March 5th, 2013 12:20 PM
This answer was accepted by the poster of the original question.
DellJesse1

Member since:
April 19th, 2012

Points: 1,551,500
1,100
points
CompuMom,

At the link below are some troubleshooting articles to hopefully, resolve this issue. This sound that a problem with your Internet security software, which might be blocking the Zoom router's wireless SSID.  I know that Norton 360, and Internet Security, will force any SSID not told to be a "trusted" network.

When you enter any MAC Address in the Wireless MAC Filter list you need to make sure that you have entered the Wireless Adapter MAC Address and not the Ethernet Connection MAC Address...

Even after that if you continue to have the same problem, you should upgrade your router's firmware, reset and re-configure it. Also, make sure to disable any firewalls, security softwares on the computer

Try using a different channel from the default for the Router.

Dell Networking and Wireless Support Center


Thank You,
Dell-Jesse1
Dell Social Media and Communities
email:[email protected]
Dell Community Forum.
www.en.community.dell.com
Dell Twitter Support
@dellcares
Dell Facebook Support
www.facebook.com/dell
#iwork4dell

Related Dell Inspiron One 2330 Manual Pages

Owner's Manual (PDF) - Page 1

Dell Inspiron One 2330 Owner's Manual Computer model: Inspiron One 2330 Regulatory model: W05C Regulatory type: W05C001
Owner's Manual (PDF) - Page 3

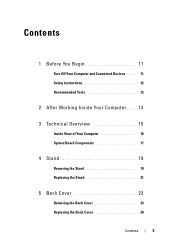
Contents 1 Before You Begin 11 Turn Off Your Computer and Connected Devices . . . . 11 Safety Instructions 12 Recommended Tools 12 2 After Working Inside Your Computer . . . . 13 3 Technical Overview 15 Inside View of Your Computer 16 System Board Components 17 4 Stand 19 Removing the Stand 19 Replacing the Stand 21 5 Back Cover 23 Removing the Back Cover 23...
Owner's Manual (PDF) - Page 12

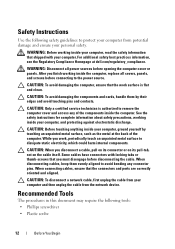
... clean. When connecting cables, ensure that shipped with locking tabs or thumb-screws that the work , periodically touch an unpainted metal surface to remove the computer cover and access...computer from the network device. WARNING: Disconnect all covers, panels, and screws before disconnecting the cable. CAUTION: To disconnect a network cable, first unplug the cable from your computer...
Owner's Manual (PDF) - Page 13

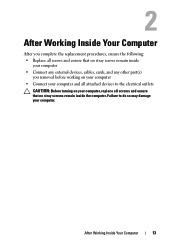
...; Replace all screws and ensure that no stray screws remain inside your computerConnect any external devices, cables, cards, and any other part(s) you removed before working on your computerConnect your computer and all attached devices to do so may damage your computer, replace all screws and ensure that no stray screws remain inside...
Owner's Manual (PDF) - Page 27

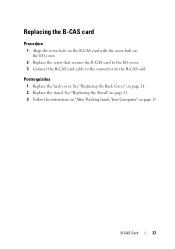
...Replacing the Stand" on page 21. 3 Follow the instructions in "After Working Inside Your Computer" on page 24. 2 Replace the stand. Replacing the B-CAS card ...Procedure 1 Align the screw hole on the B-CAS card with the screw hole on the I/O cover. 2 Replace the screw that secures the B-CAS card to the I/O cover. 3 Connect...
Owner's Manual (PDF) - Page 31

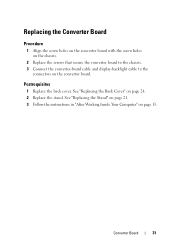
... instructions in "After Working Inside Your Computer" on page 24.... 2 Replace the stand. Postrequisites 1 Replace the back cover. See "Replacing the Back Cover" on page 13. Replacing the Converter Board Procedure 1 Align the screw holes on the converter board with the screw holes on the chassis. 2 Replace the screws that secure the converter board to the chassis. 3 Connect...
Owner's Manual (PDF) - Page 34

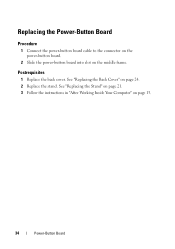
... Stand" on page 21. 3 Follow the instructions in "After Working Inside Your Computer" on page 24. 2 Replace the stand. See "Replacing the Back Cover" on page 13. 34 Power-Button Board Postrequisites 1 Replace the back cover. Replacing the Power-Button Board Procedure 1 Connect the power-button board cable to the connector on the...
Owner's Manual (PDF) - Page 42

See "Replacing the Stand" on page 21. 3 Follow the instructions in "After Working Inside Your Computer" on page 24. 2 Replace the stand. Postrequisites 1 Replace the back cover. See "Replacing the Back Cover" on page ... the screw holes on the chassis. 5 Replace the screws that secure the optical drive to the chassis. 6 Connect the power and data cable to the connector on the optical drive.
Owner's Manual (PDF) - Page 48

... the hard-drive's power and data cable through the routing guide on the hard-drive cage. 8 Connect the power and data cable to the connector on the hard drive. See "Replacing the VESA-Mount...page 21. 4 Follow the instructions in "After Working Inside Your Computer" on the hard drive. 3 Replace the screws that the tabs at the bottom of your computer. Ensure that secure the hard-drive cage to ...
Owner's Manual (PDF) - Page 56

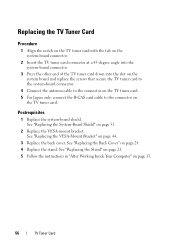
...Replace the back cover. See "Replacing the Stand" on page 21. 5 Follow the instructions in "After Working Inside Your Computer" on page 24. 4 Replace the stand. See "Replacing the Back Cover" on page 13. 56 ... TV tuner card to the system-board connector. 4 Connect the antenna cable to the connector on the TV tuner card. 5 For Japan only: connect the B-CAS card cable to the connector on the ...
Owner's Manual (PDF) - Page 57

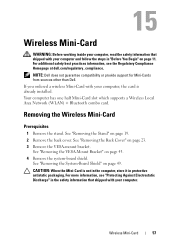
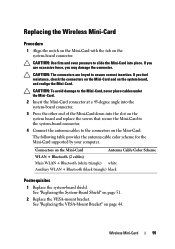
... supports a Wireless Local Area Network (WLAN) + Bluetooth combo card. Wireless Mini-Card 57 Removing the Wireless Mini-Card Prerequisites 1 Remove the stand. See "Removing the Stand" on page 43. 4 Remove the system-board shield. See "Removing the VESA-Mount Bracket" on page 19. 2 Remove the back cover. Wireless Mini-Card WARNING: Before working inside your computer, read...
Owner's Manual (PDF) - Page 59

...cable color scheme for the Mini-Card supported by your computer. See "Replacing the System-Board Shield" on page 44. See "... page 51. 2 Replace the VESA-mount bracket. Wireless Mini-Card 59 Replacing the Wireless Mini-Card Procedure 1 Align the notch on the ...secure the Mini-Card to the system-board connector. 4 Connect the antenna cables to the connectors on the system-board ...
Owner's Manual (PDF) - Page 60

See "Replacing the Stand" on page 21. 5 Follow the instructions in "After Working Inside Your Computer" on page 24. 4 Replace the stand. 3 Replace the back cover. See "Replacing the Back Cover" on page 13. 60 Wireless Mini-Card
Owner's Manual (PDF) - Page 63

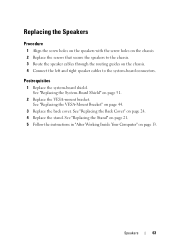
Postrequisites 1 Replace the system-board shield. See "Replacing the VESA-Mount Bracket" on the chassis. 4 Connect the left and right speaker cables to the chassis. 3 Route the speaker cables through the routing guides on page 44...on page 51. 2 Replace the VESA-mount bracket. See "Replacing the Stand" on page 21. 5 Follow the instructions in "After Working Inside Your Computer" on page 13.
Owner's Manual (PDF) - Page 71

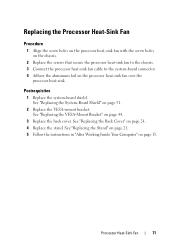
... 5 Follow the instructions in "After Working Inside Your Computer" on the processor heat-sink fan ...over the processor heat-sink. Replacing the Processor Heat-Sink Fan Procedure 1 Align the screw holes on the processor heat-sink fan with the screw holes on the chassis. 2 Replace the screws that secure the processor heat-sink fan to the chassis. 3 Connect...
Owner's Manual (PDF) - Page 79

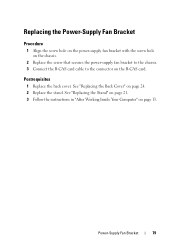
See "Replacing the Stand" on page 21. 3 Follow the instructions in "After Working Inside Your Computer" on page 24. 2 Replace the stand. Power-Supply Fan Bracket 79 See "Replacing the Back Cover" on page 13. ...screw hole on the chassis. 2 Replace the screw that secures the power-supply fan bracket to the chassis. 3 Connect the B-CAS card cable to the connector on the B-CAS card.
Owner's Manual (PDF) - Page 115

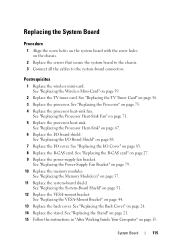
...15 Follow the instructions in "After Working Inside Your Computer" on the chassis. 2 Replace the screws that secure the system board to the chassis. 3 Connect all the cables to the system-...System Board 115 Postrequisites 1 Replace the wireless mini-card. See "Replacing the Memory Module(s)" on page 59. 2 Replace the TV tuner card. See "Replacing the Wireless Mini-Card" on page 37. ...
Owner's Manual (PDF) - Page 117

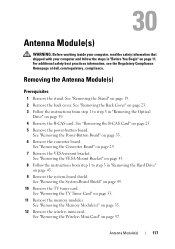
... at dell.com/regulatory_compliance. See "Removing the Stand" on page 35. 12 Remove the wireless mini-card. See "Removing the Memory Module(s)" on page 19. 2 Remove the back ... page 57. Antenna Module(s) 117 Antenna Module(s) WARNING: Before working inside your computer, read the safety information that shipped with your computer and follow the steps in "Removing the Optical Drive" on page...
Owner's Manual (PDF) - Page 143

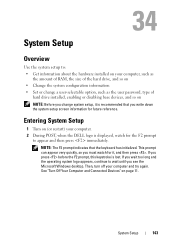
...See "Turn Off Your Computer and Connected Devices" on (or restart) your computer. 2 During POST, when... you change system setup, it , and then press . This prompt can appear very quickly, so you write down the system setup screen information for future reference. If you wait... the Microsoft Windows desktop. Then, turn off your computer and try again. Entering System Setup 1 Turn on page 11.
Owner's Manual (PDF) - Page 151

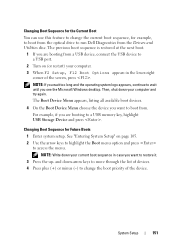
... boot from the Drivers and Utilities disc. For example, if you are booting from a USB device, connect the USB device to a USB port. 2 Turn on page 105. 2 Use the arrow keys to...Future Boots 1 Enter system setup. NOTE: Write down your computer. 3 When F2 Setup, F12 Boot Options appears in case you see the Microsoft Windows desktop. Changing Boot Sequence for the Current Boot You can use ...

Similar Questions

Ask a New Question
Use the box below to post a new question about this Dell product .
Points & Prizes
  • You can earn points for nearly everything you do on HelpOwl.com
  • You can trade in those points for gift cards at leading retailers such as Amazon.com and Walmart
  • It's that simple!
See How it Works
Create a Free Account

Dell Manuals

Find free Dell Inspiron One 2330 manuals and user guides available at ManualOwl.com. Try out our unique manual viewer allowing you to interact with manuals from directly within your browser!

Dell Reviews

View thousands of Dell user reviews and customer ratings available at ReviewOwl.com.

Contact Information

Complete Dell customer service contact information including steps to reach representatives, hours of operation, customer support links and more from ContactHelp.com.

Scoreboard Ratings

See detailed Dell customer service rankings, employee comments and much more from our sister site.

Dell Recalls

Find comprehensive Dell recall information updated hourly on RecallOwl.com.