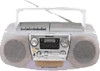
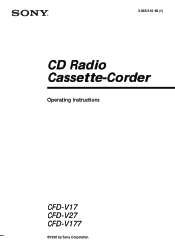
Sony CFD V177 Cd - Radio Cassette corder
Sony CFD V177 Cd
Related Manual Pages


Similar Questions

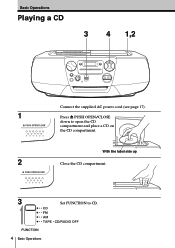
Loading Cds In The Sony 300 Mega Storage
How do I load a neww CD in my Sony 300 Megastorage player?
How do I load a neww CD in my Sony 300 Megastorage player?
(Posted by robthardgrove 9 years ago)

Cd Will Not Play Giving Us A Message Saying 'no Disc'. ?repairable?
CD spins but will not play. Message on front says "no disc". Can this be fixed?
CD spins but will not play. Message on front says "no disc". Can this be fixed?
(Posted by dosnyder 11 years ago)
When Playing A Cd, The Player Stops 30 Seconds Into The Music And Reverts Back
When playing a CD, the player stops 30 seconds or so and reverts back to OO on the readout. What is ...
When playing a CD, the player stops 30 seconds or so and reverts back to OO on the readout. What is ...
(Posted by marabraga 12 years ago)