Sony CFD-V17 - Cd Radio Cassette-corder Research
Related Manual Pages


Related Videos

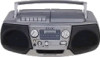
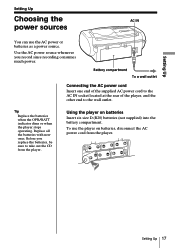
Sony CFD-V17 BoomBox
Duration: 2:38
Total Views: 1,287
Duration: 2:38
Total Views: 1,287
Similar Questions

We Have Lost The Power Cord For This Player. How Can We Get A Replacement/
(Posted by pamelamatt 10 years ago)

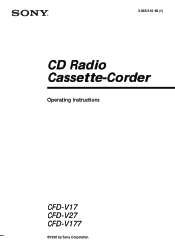
Cd Radio Cassette-corder Cfd-v17.
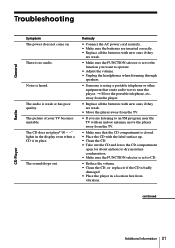
Starts-display Jumps To End-shuts Down.
The unit starts up when 'CD' switch is activated, runs for a monent, display shows 'End Track', and ...
The unit starts up when 'CD' switch is activated, runs for a monent, display shows 'End Track', and ...
(Posted by LeRoy787604 10 years ago)

Can I Purchase A Sony Cfd-w57 Cd Radio Cassette-corder?
(Posted by lhills 11 years ago)

What Would This Have Cost New? Sony Cfd-222 Cd Radio Cassette-corder.
(Posted by tricia88560 12 years ago)
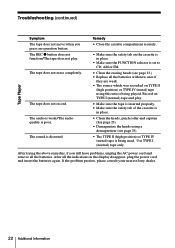
Sony Cfd-v17
I have a Sony CFD-V17 and the switch that controls the Fm-Am-CD and tape player fell off its track i...
I have a Sony CFD-V17 and the switch that controls the Fm-Am-CD and tape player fell off its track i...
(Posted by mccrackend1 12 years ago)