
Owners Manual
Page 16
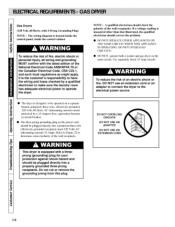
... chc_ck the polarity of the wall receptacle. Do not cut or remove the grounding prong from this plug. 16 It is located inside the control panel, inside the control cabinet. To reduce the risk of the tile National Electrical Code ANSI/NFPA 70 or the Canadian Electrical Code, CSA C22.1, and such local...
... chc_ck the polarity of the wall receptacle. Do not cut or remove the grounding prong from this plug. 16 It is located inside the control panel, inside the control cabinet. To reduce the risk of the tile National Electrical Code ANSI/NFPA 70 or the Canadian Electrical Code, CSA C22.1, and such local...
Owners Manual
Page 22
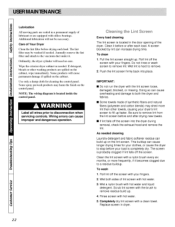
...and liquid detergent. Roll lint off the screen. IMPORTANT: [] Do not run the dryer with your fingers. The screen is local,,xi inside the control panel. NOTE: The wiring diagram is probably clogged if lint falls off the screen with the lint screen ioose, damaged, blocked, or missing. Pull the...of lint screen with the brush to remove. 2. Be sure to fill up . Some p:mducts will c_mse l_rmanent damage if spilled on lhe control panel. Doing so can cause longer drying times for your dryer's lint screen to remove lint from the lint screen before and after each load. Care...
...and liquid detergent. Roll lint off the screen. IMPORTANT: [] Do not run the dryer with your fingers. The screen is local,,xi inside the control panel. NOTE: The wiring diagram is probably clogged if lint falls off the screen with the lint screen ioose, damaged, blocked, or missing. Pull the...of lint screen with the brush to remove. 2. Be sure to fill up . Some p:mducts will c_mse l_rmanent damage if spilled on lhe control panel. Doing so can cause longer drying times for your dryer's lint screen to remove lint from the lint screen before and after each load. Care...
Owners Manual
Page 28
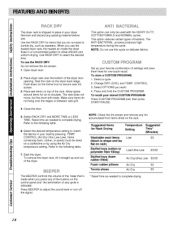
... 20/30 Air Dry/Ultra Low 50/30 Air Dry 50 Air Dry 20 The BEEPER controls the volume of the beep that you want to complete drying This option can only be dried on the control panel and the termination of settings and save them here for air to match the fabrics... in your load by pressing TEMP, CONTROL (Air Dry-Ultra Low-Low), Items containing foam, rubber, or plastic must be used...
... 20/30 Air Dry/Ultra Low 50/30 Air Dry 50 Air Dry 20 The BEEPER controls the volume of the beep that you want to complete drying This option can only be dried on the control panel and the termination of settings and save them here for air to match the fabrics... in your load by pressing TEMP, CONTROL (Air Dry-Ultra Low-Low), Items containing foam, rubber, or plastic must be used...
Service Manual
Page 4
... - TEST 2 THERMISTOR TEST --- TEST 7 GAS VALVE TEST - GAS TYPE 23 10. CONTROL PANEL & PLATE ASSEMBLY 32 12-2. CABINET & DOOR ASSEMBLY 33 12-3-1. DRUM & MOTOR ASSEMBLY : GAS TYPE 35 13. REPLACEMENT PARTS LIST 36 3 COMPONENT TESTING INFORMATION 10 6. TEST 3 ...
... - TEST 2 THERMISTOR TEST --- TEST 7 GAS VALVE TEST - GAS TYPE 23 10. CONTROL PANEL & PLATE ASSEMBLY 32 12-2. CABINET & DOOR ASSEMBLY 33 12-3-1. DRUM & MOTOR ASSEMBLY : GAS TYPE 35 13. REPLACEMENT PARTS LIST 36 3 COMPONENT TESTING INFORMATION 10 6. TEST 3 ...

Service Manual
Page 27
Pull the control panel forward. 3. Open the cover protect. 4. Disconnect connectors. 5. Remove 5 screws. 6. Disassemble the controller assembly. 26 Remove 3 screws on the rear Panel. 2. 11 DISASSEMBLY INSTRUCTIONS Disassemble and repair the unit only after pulling out power plug from the outlet. 1.
Pull the control panel forward. 3. Open the cover protect. 4. Disconnect connectors. 5. Remove 5 screws. 6. Disassemble the controller assembly. 26 Remove 3 screws on the rear Panel. 2. 11 DISASSEMBLY INSTRUCTIONS Disassemble and repair the unit only after pulling out power plug from the outlet. 1.


