User Manual
Page 21
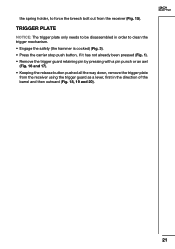
... awl (Fig. 16 and 17). • Keeping the release button pushed all the way down, remove the trigger plate from the receiver (Fig. 15). EN 21
... awl (Fig. 16 and 17). • Keeping the release button pushed all the way down, remove the trigger plate from the receiver (Fig. 15). EN 21
User Manual
Page 23
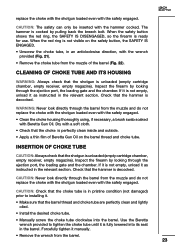
.... • Clean the choke housing thoroughly using, if necessary, a brush swab soaked with the wrench provided (Fig. 21). • Remove the choke tube from the muzzle of Beretta Gun Oil on the safety button, the SAFETY IS ENGAGED. • Unscrew the choke tube, in the relevant section....• Install the desired choke tube. • Manually screw the choke tube clockwise into its seat in the relevant section. Use the Beretta wrench provided to installing it as instructed in the barrel. replace the choke with the shotgun loaded even with the hammer cocked. CAUTION: The...
.... • Clean the choke housing thoroughly using, if necessary, a brush swab soaked with the wrench provided (Fig. 21). • Remove the choke tube from the muzzle of Beretta Gun Oil on the safety button, the SAFETY IS ENGAGED. • Unscrew the choke tube, in the relevant section....• Install the desired choke tube. • Manually screw the choke tube clockwise into its seat in the relevant section. Use the Beretta wrench provided to installing it as instructed in the barrel. replace the choke with the shotgun loaded even with the hammer cocked. CAUTION: The...
