Get support for Pfaff Tipmatic 1047

Pfaff Tipmatic 1047 Support Question

Pfaff Tipmatic 1047 Support Question

Find answers below for this question about Pfaff Tipmatic 1047.
Need a Pfaff Tipmatic 1047 manual? We have 1 online manual for this item!
Question posted by Anonymous-132319 on March 9th, 2014

Problem Disengaging Sewing Mechanism Pfaff Tipmatic 1047

I am unable to disengage the sewing mechanism so I can fill bobbin. I am holding the wheel steady and have turned knob all the way towards me, but it's still engaged. Any troubleshooting suggestions? When I turn the knob away from me it clicks into placed to set the sewing mechanism, but when I turn it towards me there is not a similar click when the knob is turned all the way towarda me. I have not used this machine for several years. Is there any other way to disengage the sewing arm? I don't see one in the manual. Thank you if you have any insight or suggestions.

Current Answers

There are currently no answers that have been posted for this question.
Be the first to post an answer!

Remember that you can earn up to 1,100 points for every answer you submit. The better the quality of your answer, the better chance it has to be accepted.

Related Pfaff Tipmatic 1047 Manual Pages

Owner's Manual - Page 2

...Carrying case Carrying handle Cleaning Electrical connection Electronic bobbin thread monitor Electronic top speed selector Finger-tip stitch buttons Foot control Fuse Light bulb Machinefeed Needle Needle position Oiling Presser bar lifter Reverse sewing Safety rules Sewing feet Sewing mechanism Slot-threading Special sewing feet Spool of thread Stitch length Stitch program...
Owner's Manual - Page 4

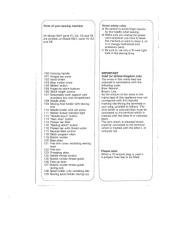
... L or coloured red. Parts of your sewing machine On Model 1047 parts 111, 112, 113 and 115 are...wheel 103 Stop motion knob 1 04 Master switch 1 05 Finger-tip stitch buttons 1 06 Stitch length control 1 07 Detachable work support with accessory box and compartment 1 08 Needle plate 1 09 Sewing foot holder with sewing foot 110 Needle holder with set screw 111 Bobbin...mechanical and accessory parts.
Owner's Manual - Page 6

....kTeshnuetprpeuonisrdteaarnnneadadtdh.i t0Ihll.etoPb6so,hxto.hwesnheoewdleths eansdnatph-eonbosbebwininsgfifteientto 0 Darning foot Standard sewing foot 2 Clear-view foot 3 Hemming foot 4 Blindstitch foot 5... S on the machine. strYhteaesorsutpsrdemosdewaawlnc,ihnttihhgne.ee As the soon as needle the Model 1069 machine stops, automatically returns...
Owner's Manual - Page 7

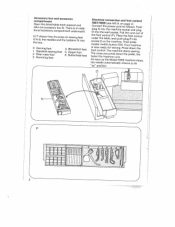
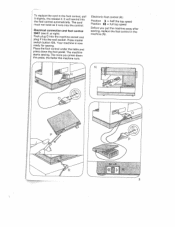
... Position (4 = full top speed Before you press down the foot pedal. Electrical connection and foot control 1047 (see ill. The machine starts sewing. To replace the cord in the machine (N). The more you put the machine away after sewing, replace the foot control in the foot control, pull it slightly, the release it runs into the...
Owner's Manual - Page 8

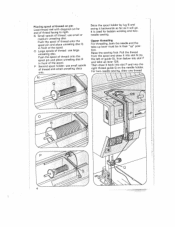
...Load thread reel with diagonal cut for bobbin winding and twoneedle sewing. o Large spools of thread: use small spools of thread and small unreeling discs only. For two-needle sewing, draw one thread 4 P Second ...Upper threading For threading, both the needle and the take -up " posi tion. Raise the sewing foot. Seize the spool holder by lug S and swing it backwards as far as it into ...
Owner's Manual - Page 9

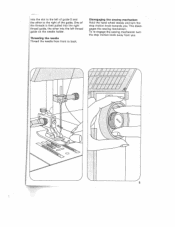
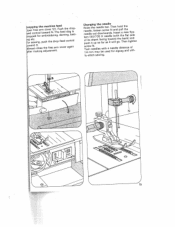
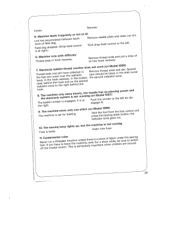
Threading the needle Thread the needle from you . To re-engage the sewing mechanism turn the stop motion knob away from front to the left thread guide on the needle holder. This disen gages the sewing mechanism. Disengaging the sewing mechanism Hold the hand wheel steady and turn the stop motion knob towards you . 5 One of the threads is then pulled into the right thread guide...
Owner's Manual - Page 13

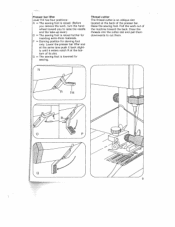
... , turn the hand wheel toward the back. Lower the presser bar lifter and at the same tane push it back slight ly until it enters notch R at the back of the presser bar. Raise the sewing foot. Thread cutter The thread cutter is an oblique slot located at the bot tom of the machine...
Owner's Manual - Page 15

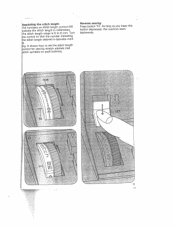
.... Regulating the stitch length ttirhhnhedeeiccnsaotutinetmtcrthbohleelressnsotgoitttnhchhasrttailttenchnghegetlnheiusnimgn0tbhmteoircl6oliinnmmdtreiomctela.rt1siTn.0ug6rn e stitch length desired is opposite mark 0 shows how to set the stitch length trol for sewing stretch stitches (red th symbols on push buttons). As long as you keep this button depressed, the machine sews backwards. 11 I0
Owner's Manual - Page 18

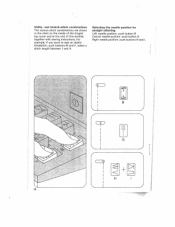
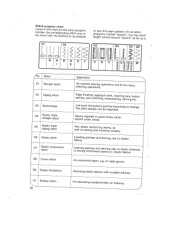
For example, if you want to sew an elastic blindstitch, push buttons M and F, select a stitch length between 1 and 4. Selecting the needle position for straight stitching Left needle position: push button B Central needle ... various stitch combinations are shown in the chart on the inside of the hinged top cover and at the end of this booklet, together with sewing instructions.
Owner's Manual - Page 19

....dietlwTsNew.ha(aierIlwndnlnsdigtethhohrpot.etulhdTallbehatntehchfenlkeewa)ttiSasgnihyddtesen screw N, Twin needles 1.4 mm may with a needle distance be used for zigzag and of utili ty-stitch sewing. 15 close the free arm cover again making adjustment. )pfdperreoeodpnpppcfeoirndnegtefrootahrlrmeteomwmcboaarrvocdeihdriNen1r.2ei1Tn.fghe,Peeuddfsaehrendtihndego, dgbroiasps-t etc...
Owner's Manual - Page 20

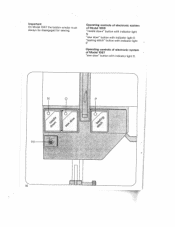
Operating controls of electronic system of Model 1069 "needle down" button with indicator light N "sew slow" button with indicator light 0 "basting stitch" button with indicator light P Operating controls of electronic system of Model 1067 "sew slow" button with indicator light 0. 4 16 Important On Model 1067 the bobbin winder must always be disengaged for sewing.
Owner's Manual - Page 21

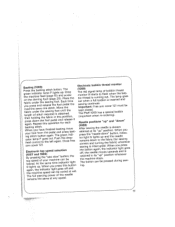
...bobbin thread monitor T(mbo1hiu0noet6ntw9irhte)orhdereansIdlilgasnistafaulrrlultlsnabnmtoionpbgbfolianfosuhbitso. Important: Free arm cover 121 must be pressed during sew ing. ) 17 wbTinbhhsieenenrlttaehthmdreepaabndgdoobes sewing...The button can be Tk(iehmpetpPocfrlatoafsfnet1d0.w6h9enharse-aorsdpeericnigal>.bobbin Needle positions "up" and "down" A(...
Owner's Manual - Page 24

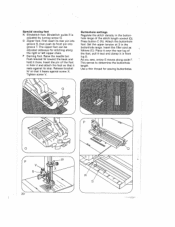
...bracket W toward the back and hold it in front lug D. ...and clamp it there. The zipper foot can be adjusted sideways for sewing buttonholes. 20 This serves to determine the buttonhole length. Release bracket ... Insert the pin of the stitch length control (Q). Press button C (N). As you sew, arrow E moves along the right or left zipper chain. Set the upper tension ...
Owner's Manual - Page 25

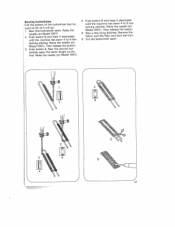
... tying stitches. Remove the fabric, pull the filler cord taut and trim. 6 Cut the buttonhole open. 4 3 21 Sew the second but tonhole seam the same length as it depressed until the machine has sewn 4 to 6 bar tacking stitches. Raise the needle (on Model 1067). Then release the button. 3 Push button A. Raise the...
Owner's Manual - Page 26

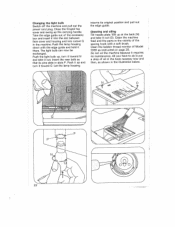
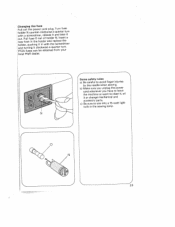
... put a drop of the sewing hook with the edge guide and hold it out. Push the light bulb up and turn it out (0). Cleaning and oiling Tilt needle plate 108 up the carrying handle. Let the lamp housing resume its pins slide in the machine. Do not oil the machine because it into the slot...
Owner's Manual - Page 27

... local Pfaff dealer. Some safety rules a) Be careful to use only a 15-watt light bulb in the sewing lamp. 4 N 23 c) Be sure to avoid finger injuries by the needle when sewing. b) Make sure you unplug the power cord whenever you have to leave the machine or want to clean it, oil it or change mechanical...
Owner's Manual - Page 29

...and put a drop of accumulated feed dog. The machine sews The machine is not running Insert new fuse. Machine runs with difficulty Thread ends in hook raceway. The sewing lamp lights up, but the machine is set for only one basting. Fuse is at...,ldubrneednseuarrrteehetaorsoesuwwniidtn.cgh 25 Remedy: Cause: 5. Machine feeds irregularly Lint has rows of 7Ttlciha....
Owner's Manual - Page 30

..."rtsncth.re"Ft,cothru"arnllastshtfieatcrhsatistciht 03 04 E-I1I IE III = II II lIE ill II iii Ill I EDcDc3 \ / " / \ .-.. - on elastic Inserting patches and or sewing ornamental sdeaarmninsgonripeslaosnticelfaasbtircicms. aterials An ornamental seam, e.g. Th- Inserting fabrics. patches and darning rips on night gowns. 09 Elastic blindstitch 10 Scallop stitch 26 Hemming...
Owner's Manual - Page 32

21 22 23 24 25 261 27
Owner's Manual - Page 34

... consisting of: Cording foot, 5 grooves (twin needle with 1.8-2.5 mm needle gauge) Cording foot, 7 grooves (twin needle with zigzag stitches 98-694 801-00 For sewing plastic materials PFAFF-HANDELSGESELLSCHAFT für Haushaltnähmaschinen m.b}1. 7500 Karlsruhe 41 West Germany Printed in West Germany Subject to alterations in design. Nr. 22607 engl. 1182 WI...

Similar Questions

Change Of Light Bulb On Tipmatic 1047?
how do I change light bulb on Tipmatic 1047?
(Posted by orhodin 4 years ago)
Sewing Mechanism Tight, Can't Wind Bobbin
My sewing mechanism is so tight, I can't disengage it to wind my bobbin, what do I do?
(Posted by mctempelman 7 years ago)
Where And Do I Disengage The Sewing Mechanism On My Pfaff 1222se
I have no idea how to disengage sewing mechanism when filling Bobbis. PLEASE HELP!!!!!
(Posted by Owee39 9 years ago)
Sewing Buttonholes On Pfaff 1047
Using the abc buttons the needle will not adjust its self from right to left when c button is presse...
(Posted by wentnews 10 years ago)
Ask a New Question
Use the box below to post a new question about this Pfaff product .
Points & Prizes
  • You can earn points for nearly everything you do on HelpOwl.com
  • You can trade in those points for gift cards at leading retailers such as Amazon.com and Walmart
  • It's that simple!
See How it Works
Create a Free Account

Pfaff Manuals

Find free Pfaff Tipmatic 1047 manuals and user guides available at ManualOwl.com. Try out our unique manual viewer allowing you to interact with manuals from directly within your browser!

Pfaff Reviews

View thousands of Pfaff user reviews and customer ratings available at ReviewOwl.com.

Contact Information

Complete Pfaff customer service contact information including steps to reach representatives, hours of operation, customer support links and more from ContactHelp.com.

Scoreboard Ratings

See detailed Pfaff customer service rankings, employee comments and much more from our sister site.