
Dell Inspiron N5050 Support Question
Dell Inspiron N5050 Support Question
Find answers below for this question about Dell Inspiron N5050.Need a Dell Inspiron N5050 manual? We have 2 online manuals for this item!
Current Answers
Answer #1: Posted by prateekk007 on April 19th, 2013 2:17 PM
prateekk007

Member since:
December 5th, 2012 Points: 2,137,520

Member since:
December 5th, 2012 Points: 2,137,520
Hi clwarren1123
Do you see any lights (Power light, keyboard activity lights) on the system when you hit the power button?
In case there are no lights, then would suggest you to check for light on the AC Adapter. Also, check the jack on the AC Adapter for any damage.
If LED on the AC adapter is not lit (when unplugged from notebook), reseat the brick and cable.
If LED on the AC Adapter goes off only after connecting to notebook then it might be an issue with the power port on the laptop.
Additionally, you can also follow some more steps as per the link below:
You can refer the Dell Article 266435 on www.support.dell.com
Please reply for further assistance
For easy access to drivers, manuals and product updates, please visit our Support Site
Thanks & Regards
Prateek K
Related Dell Inspiron N5050 Manual Pages
Owners Manual - Page 1
P18F003 Dell Inspiron M5040/15-N5040/ 15-N5050 Owner's Manual
Regulatory model: P18F
Regulatory type: P18F001; P18F002;
Owners Manual - Page 2
.... is a registered trademark owned by Bluetooth SIG, Inc.; P18F003
2011 - 05
Rev. CAUTION: A CAUTION indicates potential damage to change without the written permission of Dell Inc.
Trademarks used in this text: Dell™, the DELL logo, and Inspiron™ are trademarks of these materials in the United States and/or other countries.
Reproduction of...
Owners Manual - Page 5
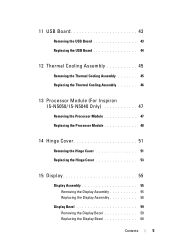
... USB Board 44
12 Thermal Cooling Assembly 45
Removing the Thermal Cooling Assembly 45 Replacing the Thermal Cooling Assembly 46
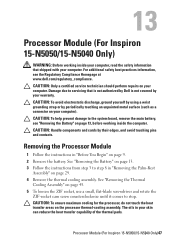
13 Processor Module (For Inspiron 15-N5050/15-N5040 Only 47
Removing the Processor Module 47 Replacing the Processor Module 48
14 Hinge Cover 51
Removing the Hinge Cover 51 Replacing the...
Owners Manual - Page 9
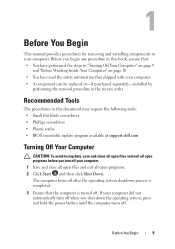
...all open programs. 2 Click Start and then click Shut Down. Before you begin any procedure in "Turning Off Your Computer" on page 9
and "Before Working Inside Your Computer" on page 10. •... • Plastic scribe • BIOS executable update program available at support.dell.com
Turning Off Your Computer
CAUTION: To avoid losing data, save and close all open files and exit...
Owners Manual - Page 10
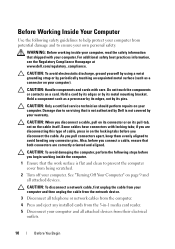
...information, see the Regulatory Compliance Homepage at www.dell.com/regulatory_compliance. Do not touch the components or contacts on the cable itself. See "Turning Off Your Computer" on page 9 and ...ensure your own personal safety. Damage due to prevent the computer cover from being scratched.
2 Turn off your computer.
if you are disconnecting this type of cable, press in -1 media card...
Owners Manual - Page 13
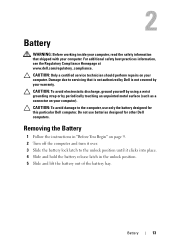
For additional safety best practices information, see the Regulatory Compliance Homepage at www.dell.com/regulatory_compliance. CAUTION: Only a certified service technician should perform repairs on page 9. 2 Turn off the computer and turn it over. 3 Slide the battery lock latch to the unlock position until it clicks into place. 4 Slide and hold the battery release...
Owners Manual - Page 15
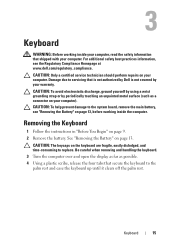
... until it clears off the palm rest. Be careful when removing and handling the keyboard. 3 Turn the computer over and open the display as far as possible. 4 Using a plastic scribe, release the... four tabs that is not authorized by Dell is not covered by periodically touching an unpainted metal surface (such as a connector on page 13, before...
Owners Manual - Page 19
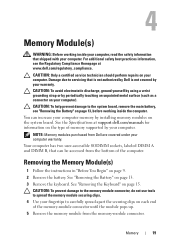
...the system board, remove the main battery, see the Regulatory Compliance Homepage at support.dell.com/manuals for information on the system board. CAUTION: Only a certified service ... page 13, before working inside the computer.
Memory
19 See the Specifications at www.dell.com/regulatory_compliance. For additional safety best practices information, see "Removing the Battery" on page...
Owners Manual - Page 23
... See "Removing the Keyboard" on page 15. 4 Remove the screw that is not authorized by Dell is not covered by periodically touching an unpainted metal surface (such as a connector on page 13,...board, remove the main battery, see the Regulatory Compliance Homepage at www.dell.com/regulatory_compliance. Damage due to release it from
the optical-drive compartment. 6 Slide the ...
Owners Manual - Page 25
...sold, the Mini-Card slot may or may not have a Mini-Card installed.
NOTE: Dell does not guarantee compatibility or provide support for Wireless Local Area Network (WLAN)/Bluetooth combo ...Card slots for Mini-Cards from the Mini-Card. 5 Remove the screw that is not authorized by Dell is already installed. CAUTION: Only a certified service technician should perform repairs on page 9. 2 Remove...
Owners Manual - Page 28
... the computer. Failure to do so may result in damage to the Mini-Card you are installing a Mini-Card from a source other than Dell, you are installing. CAUTION: Before turning on page 17. 7 Replace the battery.
Connectors on page 14. See "Replacing the Battery" on the Mini-Card WLAN (2 antenna cables) Main...
Owners Manual - Page 29
... to the system board, remove the main battery, see the Regulatory Compliance Homepage at www.dell.com/regulatory_compliance. CAUTION: To help prevent damage to the computer
base. See "Removing the ...(such as a connector on page 13. 3 Remove the 11 screws that is not authorized by Dell is not covered by your computer.
Removing the Palm-Rest Assembly
1 Follow the instructions in "Before...
Owners Manual - Page 35
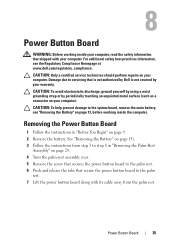
... service technician should perform repairs on your computer, read the safety information that is not authorized by Dell is not covered by periodically touching an unpainted metal surface (such as a connector on page 29. 4 Turn the palm-rest assembly over. 5 Remove the screw that secures the power button board to the palm...
Owners Manual - Page 37
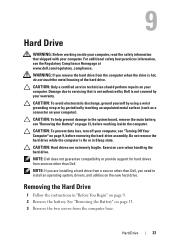
... the Battery" on page 13, before removing the hard-drive assembly. CAUTION: To prevent data loss, turn off your warranty. NOTE: Dell does not guarantee compatibility or provide support for hard drives from sources other than Dell.
CAUTION: Hard drives are installing a hard drive from the computer base.
CAUTION: To help prevent damage...
Owners Manual - Page 41
... Before working inside your computer, read the safety information that is not authorized by Dell is not covered by periodically touching an unpainted metal surface (such as a connector... the system board, remove the main battery, see the Regulatory Compliance Homepage at www.dell.com/regulatory_compliance.
CAUTION: To avoid electrostatic discharge, ground yourself by using a wrist grounding...
Owners Manual - Page 43
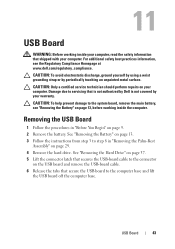
...CAUTION: To help prevent damage to servicing that is not authorized by Dell is not covered by periodically touching an unpainted metal surface.
USB Board... warranty. Damage due to the system board, remove the main battery, see the Regulatory Compliance Homepage at www.dell.com/regulatory_compliance. See "Removing the Hard Drive" on page 37. 5 Lift the connector latch that secures the...
Owners Manual - Page 47
...to the system board, remove the main battery, see the Regulatory Compliance Homepage at www.dell.com/regulatory_compliance. CAUTION: To ensure maximum cooling for the processor, do not touch the ...-Rest
Assembly" on page 13, before working inside the computer. Processor Module (For Inspiron 15-N5050/15-N5040 Only)47 CAUTION: To avoid electrostatic discharge, ground yourself by using a wrist...
Owners Manual - Page 48
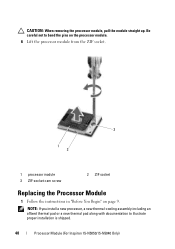
Be careful not to illustrate proper installation is shipped.
48
Processor Module (For Inspiron 15-N5050/15-N5040 Only) CAUTION: When removing the processor module, pull the module straight up. NOTE: If you install a new processor, a new thermal-cooling assembly including ...
Owners Manual - Page 49
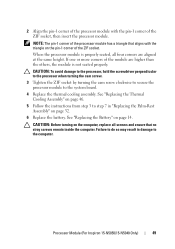
..., hold the screwdriver perpendicular to the processor when turning the cam screw. 3 Tighten the ZIF socket by turning the cam screw clockwise to secure the processor module to the computer.
See "Replacing the Battery" on page 32. 6 Replace the battery. Processor Module (For Inspiron 15-N5050/15-N5040 Only)
49 See "Replacing the Thermal...
Owners Manual - Page 50

50
Processor Module (For Inspiron 15-N5050/15-N5040 Only)
Similar Questions

My Dell Inspiron N5050 Laptop Wont Turn On No Beeping
(Posted by mcvadon 9 years ago)

My Dell Inspiron N5050 Laptop Wont Turn On And Beeps 7 Times
(Posted by STecknoz 9 years ago)


