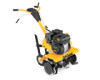
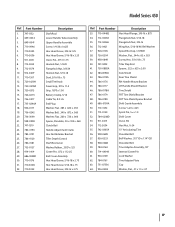
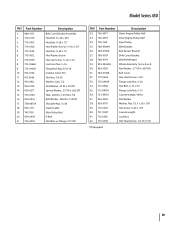
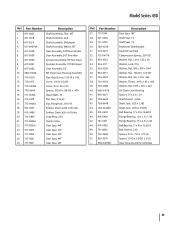
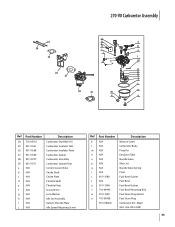
Cub Cadet FT 24 Support Question
Cub Cadet FT 24 Support Question
Find answers below for this question about Cub Cadet FT 24.Need a Cub Cadet FT 24 manual? We have 2 online manuals for this item!
Question posted by giddyupkip on November 28th, 2023
How Do I Get The Gas Tank Off?
Current Answers
Answer #1: Posted by SonuKumar on November 28th, 2023 10:28 PM

Member since:
May 9th, 2021 Points: 16,617,800

Safety First: Before you begin, ensure the lawn mower is turned off and the engine is completely cool. Disconnect the spark plug wire to prevent accidental starting.
Drain the Fuel: To avoid spills and hazards, drain the fuel from the gas tank using a siphon pump or drain plug, depending on your mower model. Refer to your owner's manual for specific instructions on draining the fuel.
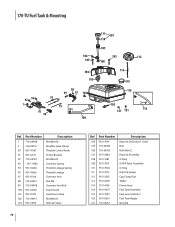
Locate the Gas Tank: The gas tank is typically located at the rear of the mower, underneath the seat. Identify the mounting bolts or straps that secure the tank to the frame.
Disconnect the Fuel Line: Carefully disconnect the fuel line from the gas tank and carburetor. Use a wrench or pliers if necessary to loosen any clamps or fittings.
Remove the Mounting Bolts or Straps: Using a wrench or socket wrench, remove the bolts or straps that secure the gas tank to the mower frame. There may be two or more bolts or straps depending on your mower model.
Lift the Gas Tank: Once the mounting bolts or straps are removed, carefully lift the gas tank out of its position. Be mindful of any remaining fuel lines or electrical connections that may still be attached.
Inspect the Gas Tank: Take this opportunity to inspect the gas tank for any cracks, leaks, or damage. If any damage is found, the gas tank should be replaced before reinstallation.
Reinstall the Gas Tank: Carefully reverse the steps above to reinstall the gas tank. Secure the tank with the mounting bolts or straps and reconnect the fuel line.
Reconnect the Spark Plug Wire: Once the gas tank is securely mounted and all connections are made, reconnect the spark plug wire.
Refill with Fuel: Refill the gas tank with fresh fuel, ensuring not to overfill.
Start the Engine: Start the lawn mower engine and check for any leaks or abnormalities. If everything looks good, you have successfully removed and reinstalled the gas tank on your Cub Cadet FT 24 lawn mower.
Please respond to my effort to provide you with the best possible solution by using the "Acceptable Solution" and/or the "Helpful" buttons when the answer has proven to be helpful.
Regards,
Sonu
Your search handyman for all e-support needs!!
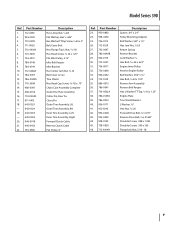
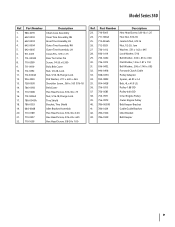
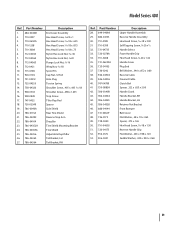
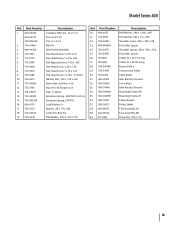
Related Cub Cadet FT 24 Manual Pages


Similar Questions

ratio oil gas for SS 270 tha
cc212 weed eater gas and oil mixture ratio what is it

Brand new. Brought it home, put it together and added fuel/oil. Started right up and ran it for a fe...

I bought a 2013 RT65 tiller which has been barely used, but was stored with stale gasoline in the ca...
