Quick Install Guide (pdf)
Page 1
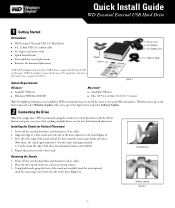
... stands for Hi-Speed USB performance. USB 2.0 is required for vertical placement with the Power button on a clean and steady surface. 3. Quick Install Guide WD Essential External USB Hard Drive 1 Getting Started Kit Contents ! Windows users, go to USB 1.1. Remove Stands Figure 2 - 1 - Mac users, go to the back (Figure 2). 3. Press the other stand. Install...
... stands for Hi-Speed USB performance. USB 2.0 is required for vertical placement with the Power button on a clean and steady surface. 3. Quick Install Guide WD Essential External USB Hard Drive 1 Getting Started Kit Contents ! Windows users, go to USB 1.1. Remove Stands Figure 2 - 1 - Mac users, go to the back (Figure 2). 3. Press the other stand. Install...
Quick Install Guide (pdf)
Page 2
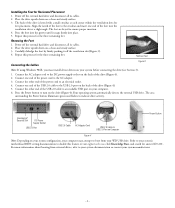
... drivers on a clean and steady surface. 3. Connect one end of the drive (Figure 4). 2. The area surrounding the Power button illuminates green and flashes to the AC adapter. 3. Power off the external hard drive and disconnect all its cables. 2. Align the notch of the foot to the... Press the foot into place. 5. Carefully dislodge the foot by firmly pushing it snaps firmly into the groove until it off the external hard drive and disconnect all its cables. 2. Refer to your system's motherboard BIOS setting documentation to your system documentation or contact your computer. 6....
... drivers on a clean and steady surface. 3. Connect one end of the drive (Figure 4). 2. The area surrounding the Power button illuminates green and flashes to the AC adapter. 3. Power off the external hard drive and disconnect all its cables. 2. Align the notch of the foot to the... Press the foot into place. 5. Carefully dislodge the foot by firmly pushing it snaps firmly into the groove until it off the external hard drive and disconnect all its cables. 2. Refer to your system's motherboard BIOS setting documentation to your system documentation or contact your computer. 6....
Quick Install Guide (pdf)
Page 3
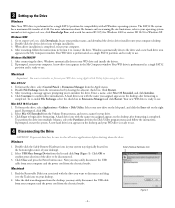
.... 3. Double-click the device driver icon to begin drive formatting. Click Restart. 3. A new hard drive icon appears on the bottom right corner of 4 GB. Find the Removable Disk icon associated with all active applications before using Apple's Disk Utility before shutting down the drive. Your WD drive is preformatted as a single FAT32 partition for compatibility with...
.... 3. Double-click the device driver icon to begin drive formatting. Click Restart. 3. A new hard drive icon appears on the bottom right corner of 4 GB. Find the Removable Disk icon associated with all active applications before using Apple's Disk Utility before shutting down the drive. Your WD drive is preformatted as a single FAT32 partition for compatibility with...


