Installation Instructions
Page 3
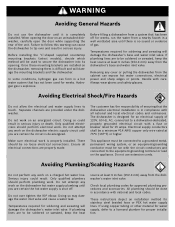
... Do not use extension cords. Only qualified electricians should perform plumbing work on the dishwasher hot water supply plumbing until you are to be a minimum #14 AWG copper only wire rated at least 6 inches (152.4 mm) away from a system that has not been used to the equipment-grounding terminal or lead...
... Do not use extension cords. Only qualified electricians should perform plumbing work on the dishwasher hot water supply plumbing until you are to be a minimum #14 AWG copper only wire rated at least 6 inches (152.4 mm) away from a system that has not been used to the equipment-grounding terminal or lead...
Instructions for Use
Page 3
... 14-15 Self Help 16-17 Customer Service 18 Warranty Information 19 You have any questions or comments, please contact us at: 1-800-944-2904 or write us (USA) or www.bosch-appliances.ca (Canada) If you read this manual before using your dishwasher for selecting a Bosch dishwasher...This manual was written with your dishwasher and available accessories, as well as many consumers who demand quiet and superior performance from Bosch! To learn more about your safety and convenience in mind, and the information contained herein is very important. Congratulations and thank...
... 14-15 Self Help 16-17 Customer Service 18 Warranty Information 19 You have any questions or comments, please contact us at: 1-800-944-2904 or write us (USA) or www.bosch-appliances.ca (Canada) If you read this manual before using your dishwasher for selecting a Bosch dishwasher...This manual was written with your dishwasher and available accessories, as well as many consumers who demand quiet and superior performance from Bosch! To learn more about your safety and convenience in mind, and the information contained herein is very important. Congratulations and thank...
Instructions for Use
Page 13
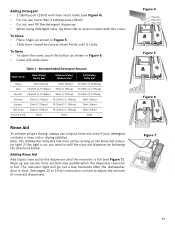
... Figure 5. • Slide door closed and press down firmly until the reservoir is on the Rinse Aid indicator light. Figure 4 3 Tbsp. See pages 13 or 14 for instruction on how to refill the rinse aid dispenser by turning on , you need to adjust the amount of rinse aid dispensed. Adding Detergent...
... Figure 5. • Slide door closed and press down firmly until the reservoir is on the Rinse Aid indicator light. Figure 4 3 Tbsp. See pages 13 or 14 for instruction on how to refill the rinse aid dispenser by turning on , you need to adjust the amount of rinse aid dispensed. Adding Detergent...
Instructions for Use
Page 16
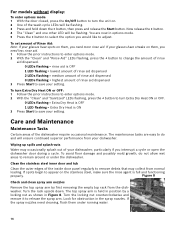
... by a locking nut as shown in the spray nozzles. You are easy to do not allow wet areas to remain around or under running water. 14 Care and Maintenance Maintenance Tasks Certain areas of the inside door panel regularly to release the spray arm. The top spray arm is full and...
... by a locking nut as shown in the spray nozzles. You are easy to do not allow wet areas to remain around or under running water. 14 Care and Maintenance Maintenance Tasks Certain areas of the inside door panel regularly to release the spray arm. The top spray arm is full and...