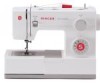
Singer 5511 SCHOLASTIC Support Question
Singer 5511 SCHOLASTIC Support Question
Find answers below for this question about Singer 5511 SCHOLASTIC.Need a Singer 5511 SCHOLASTIC manual? We have 1 online manual for this item!
Question posted by arcand1772 on March 6th, 2015
Thread When Sewing Doesn't Catch Bobbin Thread, What Do I Do?
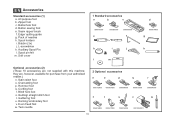
Supporting Images
You can click the images below to enlarge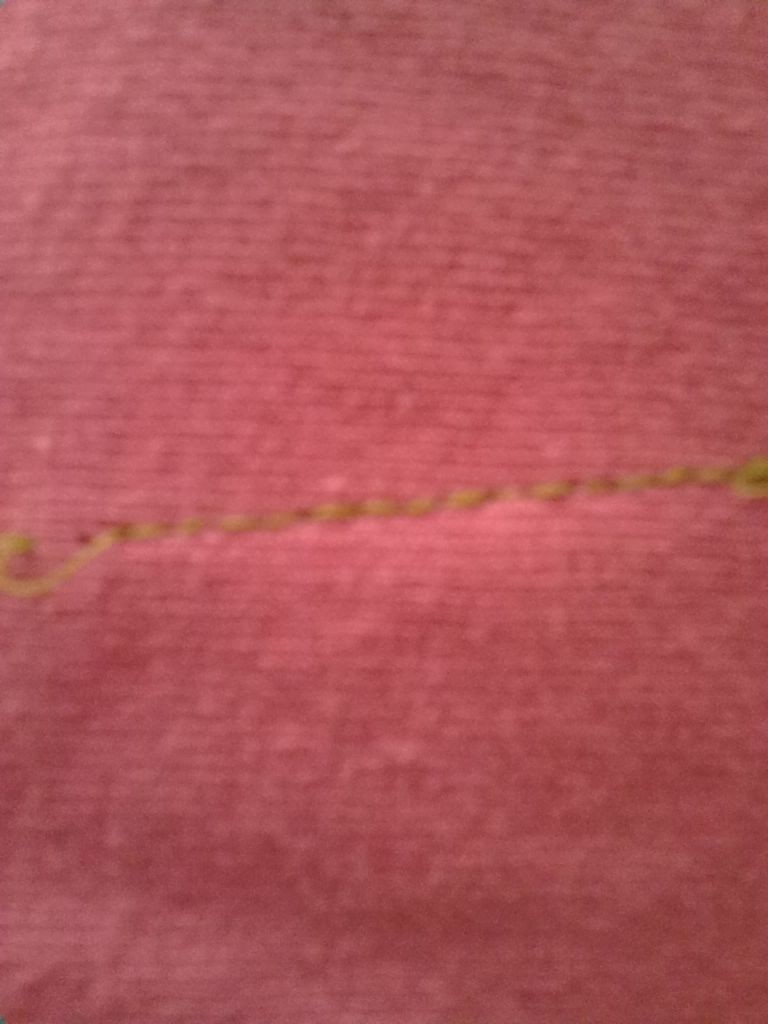

Current Answers
Answer #1: Posted by TommyKervz on March 6th, 2015 12:44 PM

Member since:
January 10th, 2013 Points: 17,776,813

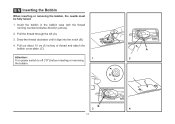
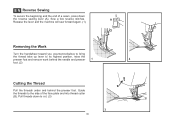
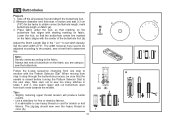
Next, make sure your needle is inserted correctly, as far as it will go, with the flat side facing back. Also, make sure your bobbin is in correctly (not backwards) and that the upper tension disks of your machine are threaded correctly. Make sure the presser foot is up when seating the thread through the upper tension.
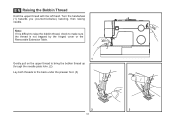
Now, it's time to draw up your bobbin thread.
Turn the handwheel (TOWARDS YOU ONLY, never turn the handwheel away from you) and hold the needle thread lightly. Tug on it as the needle goes down and then comes up again. You should see a small loop come up through the needle plate (this is your bobbin thread), using the tip of a narrow object like a pencil or scissors, pull the loop up and then pull both threads (top and bobbin) under the foot and toward the back of the machine.
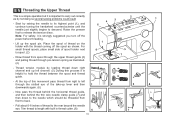
If the above troubleshooting tips did not solve your issues, you may need to have your machine repaired for timing. If the timing is out, the needle thread is not meeting the bobbin thread in time to form a stitch.
Another helpful troubleshooting on the video here
Related Singer 5511 SCHOLASTIC Manual Pages


Similar Questions


How can i unjam my machine the manual wheel will not turn foward or backward
Error message E7 is up on my Singer Stylist model 7258 sewing machine. It is not working at all. I t...

My sewing machine will beep and stop sewing after three inches of sewing. I have taken it to be repa...

cannot find information on how to thread the serger that ispart of the sewing machine