HP W1858 Audio Cord - Widescreen Monitor
HP W1858 Audio Cord
Related Manual Pages


Similar Questions

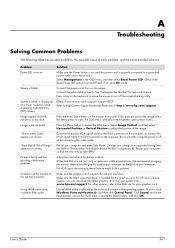
The Power Cord Connection On My Hp1856 Is Loose And The Power Is Intermetant
(Posted by bpaige23 9 years ago)

Where Can I Buy The Power Cord For A Hp L1506 Monitor (product Px848a)
where can I buy the power cord for a HP L1506 monitor (product PX848A)
where can I buy the power cord for a HP L1506 monitor (product PX848A)
(Posted by dan140210 10 years ago)

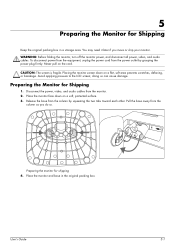
Audio Cable Connection
Please show me how to connect audio cable on HP536A
Please show me how to connect audio cable on HP536A
(Posted by sugathan33 10 years ago)
