Get support for Hunter 44260

Hunter 44260 Support Question

Hunter 44260 Support Question

Find answers below for this question about Hunter 44260.
Need a Hunter 44260 manual? We have 2 online manuals for this item!
Question posted by zaher3kynu on July 16th, 2014

What Does A Blinking 4 Mean On A Hunter Thermostat

The person who posted this question about this Hunter product did not include a detailed explanation. Please use the "Request More Information" button to the right if more details would help you to answer this question.

Current Answers

There are currently no answers that have been posted for this question.
Be the first to post an answer!

Remember that you can earn up to 1,100 points for every answer you submit. The better the quality of your answer, the better chance it has to be accepted.

Related Hunter 44260 Manual Pages

Owner's Manual - Page 1

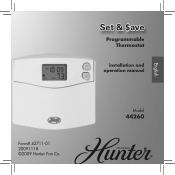
Set & $ave Programmable Thermostat installation and operation manual English Form# 42711-01 20091118 ©2009 Hunter Fan Co. 1 Model 44260
Owner's Manual - Page 3

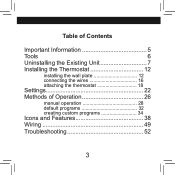
Table of Contents Important Information 5 Tools 6 Uninstalling the Existing Unit 7 Installing the Thermostat 12 installing the wall plate 12 connecting the wires 16 attaching the thermostat 18 Settings 22 Methods of Operation 26 manual operation 28 default programs 32 creating custom programs 34 Icons and Features 38 Wiring 49 Troubleshooting 52 3
Owner's Manual - Page 4

Thank you for complete operation instructions. 4 Please read this manual before beginning installation and save this booklet for choosing a Hunter programmable thermostat. Your new Hunter thermostat will provide years of reliable service and year-round energy savings. Set & Save Programmable Thermostat Model 44260 Congratulations!
Owner's Manual - Page 5

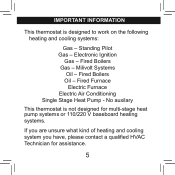
Fired Boilers Oil - Fired Boilers Gas - important information This thermostat is not designed for multi-stage heat pump systems or 110/220 V baseboard heating systems. If... Electric Furnace Electric Air Conditioning Single Stage Heat Pump - Standing Pilot Gas - Milivolt Systems Oil - No auxilary This thermostat is designed to work on the following heating and cooling systems: Gas -
Owner's Manual - Page 6

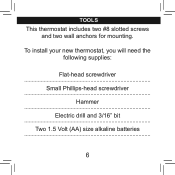
To install your new thermostat, you will need the following supplies: Flat-head screwdriver Small Phillips-head screwdriver Hammer Electric drill and 3/16" bit Two 1.5 Volt (AA) size alkaline batteries 6 Tools This thermostat includes two #8 slotted screws and two wall anchors for mounting.
Owner's Manual - Page 7

Do not disconnect the wires from the existing thermostat before reading these instructions. The wires must be labeled prior to removal to ensure proper reconnection. 7 NOTICE!
Owner's Manual - Page 9

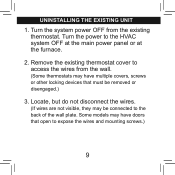
....) 3. Some models may have doors that must be connected to expose the wires and mounting screws.) 9 Turn the system power OFF from the wall. (Some thermostats may have multiple covers, screws or other locking devices that open to the back of the wall plate. Remove the existing...
Owner's Manual - Page 10

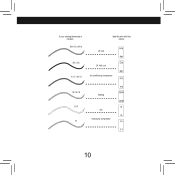
Y1 G W/B Y/0 RC RH if your existing thermostat is marked... RH / R / VR / 4 RC / VC Y / C* / M / O label the wire with this sticker: 24 Volt RH 24 Volt cool RC air conditioning compressor W / H / B G / F Y1 heating fan heat pump compressor Y/0 W/B G Y1 10
Owner's Manual - Page 11

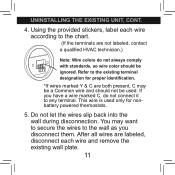
... used only for proper identification. *If wires marked Y & C are both present, C may want to secure the wires to the existing terminal designation for nonbattery powered thermostats. 5. Using the provided stickers, label each wire according to any terminal. Refer to the wall as you have a wire marked C, do not always comply with...
Owner's Manual - Page 13

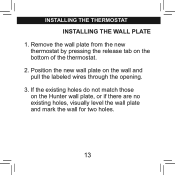
... the Hunter wall plate, or if there are no existing holes, visually level the wall plate and mark the wall for two holes. 13 If the existing holes do not match those on the wall and pull the labeled wires through the opening. 3. Remove the wall plate from the new thermostat by...
Owner's Manual - Page 15

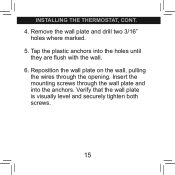
... securely tighten both screws. 15 Remove the wall plate and drill two 3/16" holes where marked. 5. Insert the mounting screws through the opening. installing the thermostat, cont. 4. Tap the plastic anchors into the anchors.
Owner's Manual - Page 17

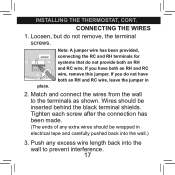
... 2. Loosen, but do not have both an RH and RC wire, remove this jumper. If you have both an RH and RC wire. installing the thermostat, cont. CONNECTING THE WIRES 1. If you do not remove, the terminal screws. Wires should be inserted behind the black terminal shields.
Owner's Manual - Page 18

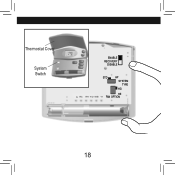
Thermostat Cover System Switch T AM 4 HEAT ENABLE RECOVERY DISABLE STD HP SYSTEM TYPE HG HE YG1 RWC/B YR/OH YR/OH WR/CB GY1 FAN OPTION 18
Owner's Manual - Page 19

... feature, simply change the switch to cooling mode.) 2. Locate the Auto Recovery switch on the back of the thermostat. Select either STD (Standard) or HP (Heat Pump) to AUTO. 1. ATTACHING THE THERMOSTAT Lift the thermostat cover and set to the DISABLE position. If you wish to HG (default) for gas furnace and oil...
Owner's Manual - Page 21

.... Restore power at the electrical panel or furnace. 21 If the thermostat does not snap into place. Note: Do not force the thermostat onto the wall plate, as the terminal pins may not work. 5. Insert two AA alkaline batteries. 6. Press the thermostat onto the wall plate and press to snap the bottom tab...
Owner's Manual - Page 23

... button when the LCD turns on. Press and hold the Up button. 2. Use a paperclip to press the Reset button. 3. settings The default setting of the thermostat is pressed for 5 seconds, the unit will return to the Normal Display mode.) To change to Celcius (Co): 1. NOTICE: CHANGING THIS SETTING WILL RESET THE...
Owner's Manual - Page 25

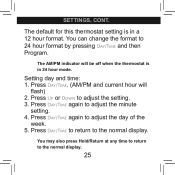
... Day/Time again to 24 hour format by pressing Day/Time and then Program. The default for this thermostat setting is in a 12 hour format. Press Day/Time. (AM/PM and current hour will be off when the... thermostat is in 24 hour mode. Press Day/Time again to the normal display. Press Day/Time to return ...
Owner's Manual - Page 27

To utilize the pre-programmed settings, see pages 28-31. For manual operation instructions, see pages 32-33. methods of operation This thermostat gives you the ability to program up to 4 custom temperature settings per day or utilize pre-programmed settings. To create custom programs, see pages 34-37. 27
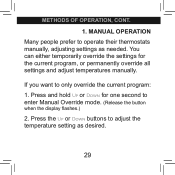
Owner's Manual - Page 29

Press the Up or Down buttons to operate their thermostats manually, adjusting settings as desired. 29 If you want to enter Manual Override mode. (Release the button when the display flashes.) 2. Press and hold Up ...
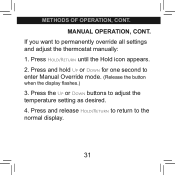
Owner's Manual - Page 31

... temperature setting as desired. 4. MANUAL OPERATION, CONT. methods of operation, CONT. Press the Up or Down buttons to permanently override all settings and adjust the thermostat manually: 1.

Similar Questions

What Do A Blinking 4 Mean On A Hunter Thermostat 44260
44260 Hunter thermostat blinking 4 what does it mean
(Posted by Rickandremodel 3 years ago)
Why Is My Thermostat Blinking 3?
Ever since I have moved into this apartment, my Hunter thermostat has been a problem! Now it's blink...
(Posted by Anonymous-166108 4 years ago)
Ask a New Question
Use the box below to post a new question about this Hunter product .
Points & Prizes
  • You can earn points for nearly everything you do on HelpOwl.com
  • You can trade in those points for gift cards at leading retailers such as Amazon.com and Walmart
  • It's that simple!
See How it Works
Create a Free Account

Hunter Manuals

Find free Hunter 44260 manuals and user guides available at ManualOwl.com. Try out our unique manual viewer allowing you to interact with manuals from directly within your browser!

Hunter Reviews

View thousands of Hunter user reviews and customer ratings available at ReviewOwl.com.

Contact Information

Complete Hunter customer service contact information including steps to reach representatives, hours of operation, customer support links and more from ContactHelp.com.

Scoreboard Ratings

See detailed Hunter customer service rankings, employee comments and much more from our sister site.

Hunter Recalls

Find comprehensive Hunter recall information updated hourly on RecallOwl.com.