Get support for Dell Inspiron N5050

Dell Inspiron N5050 Support Question

Dell Inspiron N5050 Support Question

Find answers below for this question about Dell Inspiron N5050.
Need a Dell Inspiron N5050 manual? We have 2 online manuals for this item!
Question posted by GEEtay on February 23rd, 2014

What Is The Push Buttons For Recovery For Dell Inspiron N5050

The person who posted this question about this Dell product did not include a detailed explanation. Please use the "Request More Information" button to the right if more details would help you to answer this question.

Current Answers

Answer #1: Posted by DellJesse1 on February 24th, 2014 8:14 AM
This answer was accepted by the poster of the original question.
DellJesse1

Member since:
April 19th, 2012

Points: 1,551,500
1,100
points
GEEtay,

You can restore to factory conditions using the Dell Factory Image. To access the image start your computer and TAP the F8 key. Once you have the Advanced Options on the screen choose the one that reads "Repair Your Computer" and follow the prompts to restore.

CAUTION:

This utility formats the operating system hard drive partition prior to restoring the factory image. This means data on that partition is deleted and cannot be recovered.

If the customer creates a second partition with a third-party utility, Dell Factory Image Restore is not affected as long as the image partition is not removed.


Thank You,
Dell-Jesse1
Dell Social Media and Communities
email:[email protected]
Dell Community Forum.
www.en.community.dell.com
Dell Twitter Support
@dellcares
Dell Facebook Support
www.facebook.com/dell
#iwork4dell

Related Dell Inspiron N5050 Manual Pages

Owners Manual - Page 1

P18F003 P18F002; Dell Inspiron M5040/15-N5040/ 15-N5050 Owner's Manual Regulatory model: P18F Regulatory type: P18F001;
Owners Manual - Page 2

...whatsoever without notice. © 2011 Dell Inc. All rights reserved. Microsoft®, Windows®, and the Windows start button logo are trademarks of Dell Inc.; is a registered trademark ...this document is subject to hardware or loss of Dell Inc. Trademarks used in this text: Dell™, the DELL logo, and Inspiron™ are either trademarks or registered trademarks of your...
Owners Manual - Page 4

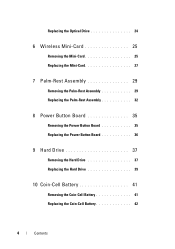
... Mini-Card 27 7 Palm-Rest Assembly 29 Removing the Palm-Rest Assembly 29 Replacing the Palm-Rest Assembly 32 8 Power Button Board 35 Removing the Power Button Board 35 Replacing the Power Button Board 36 9 Hard Drive 37 Removing the Hard Drive 37 Replacing the Hard Drive 39 10 Coin-Cell Battery 41...
Owners Manual - Page 5

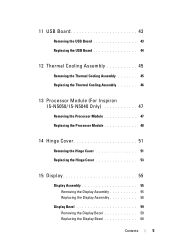
... USB Board 44 12 Thermal Cooling Assembly 45 Removing the Thermal Cooling Assembly 45 Replacing the Thermal Cooling Assembly 46 13 Processor Module (For Inspiron 15-N5050/15-N5040 Only 47 Removing the Processor Module 47 Replacing the Processor Module 48 14 Hinge Cover 51 Removing the Hinge Cover 51 Replacing the...
Owners Manual - Page 9

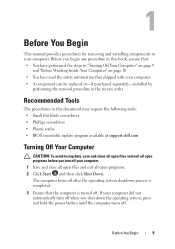
... document may require the following tools: • Small flat-blade screwdriver • Phillips screwdriver • Plastic scribe • BIOS executable update program available at support.dell.com Turning Off Your Computer CAUTION: To avoid losing data, save and close all open files and exit all open programs before you turn off...
Owners Manual - Page 10

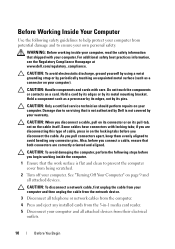
...locking tabs; For additional safety best practices information, see the Regulatory Compliance Homepage at www.dell.com/regulatory_compliance. Some cables have connectors with your computer. Also, before you begin working inside... from the 3-in on your computer. Hold a card by its edges or by Dell is flat and clean to prevent the computer cover from potential damage and to avoid ...
Owners Manual - Page 11

... board, remove the main battery, see "Removing the Battery" on page 13. 8 Turn the computer top-side up, open the display, and press the power button to ground the system board.
Owners Manual - Page 13

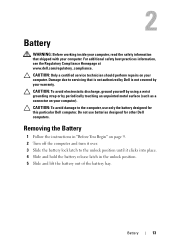
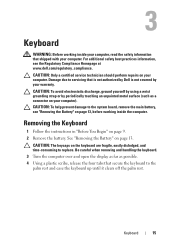
... the battery out of the battery bay. Battery 13 2 Battery WARNING: Before working inside your computer, read the safety information that is not authorized by Dell is not covered by periodically touching an unpainted metal surface (such as a connector on your computer). CAUTION: Only a certified service technician should perform repairs on...
Owners Manual - Page 15

... the system board, remove the main battery, see the Regulatory Compliance Homepage at www.dell.com/regulatory_compliance. Keyboard 15 CAUTION: The keycaps on your computer. CAUTION: To help ... read the safety information that secure the keyboard to servicing that is not authorized by Dell is not covered by periodically touching an unpainted metal surface (such as possible. 4 Using...
Owners Manual - Page 19

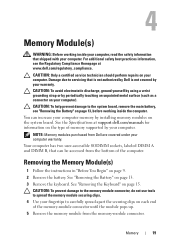
... system board, remove the main battery, see the Regulatory Compliance Homepage at support.dell.com/manuals for information on the type of memory supported by periodically touching an unpainted... "Removing the Keyboard" on your computer. Memory 19 See the Specifications at www.dell.com/regulatory_compliance. 4 Memory Module(s) WARNING: Before working inside your computer, read the...
Owners Manual - Page 23

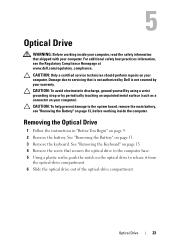
...system board, remove the main battery, see the Regulatory Compliance Homepage at www.dell.com/regulatory_compliance. Damage due to release it from the optical-drive compartment. 6...4 Remove the screw that secures the optical drive to the computer base. 5 Using a plastic scribe, push the notch on page 13, before working inside the computer. For additional safety best practices information, see ...
Owners Manual - Page 25

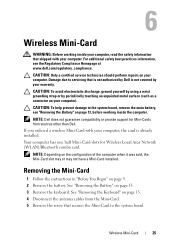
...Card to the system board, remove the main battery, see the Regulatory Compliance Homepage at www.dell.com/regulatory_compliance. See "Removing the Keyboard" on your computer). NOTE: Depending on page 9. 2... the Mini-Card slot may or may not have a Mini-Card installed. NOTE: Dell does not guarantee compatibility or provide support for Wireless Local Area Network (WLAN)/Bluetooth combo...
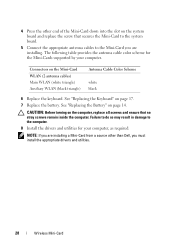
Owners Manual - Page 28

... the keyboard. CAUTION: Before turning on the system board and replace the screw that no stray screws remain inside the computer. 4 Press the other than Dell, you are installing. The following table provides the antenna cable color scheme for your computer. See "Replacing the Battery" on page 14. Failure to do...
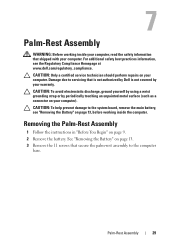
Owners Manual - Page 29

.... See "Removing the Battery" on your computer). 7 Palm-Rest Assembly WARNING: Before working inside your computer, read the safety information that is not authorized by Dell is not covered by periodically touching an unpainted metal surface (such as a connector on page 9. 2 Remove the battery. For additional safety best practices information, see...
Owners Manual - Page 30

See "Removing the Keyboard" on page 15. 5 Remove the two screws on the system board and remove the cables. 30 Palm-Rest Assembly 4 Remove the keyboard. CAUTION: Pull on the plastic tab on top of the connectors to avoid damaging the connectors. 6 Lift the connector latch that secures the power-button board cable and touch-pad cable to the connectors on the palm-rest assembly.
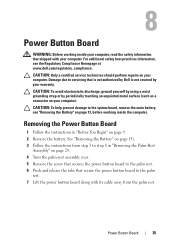
Owners Manual - Page 35

... system board, remove the main battery, see the Regulatory Compliance Homepage at www.dell.com/regulatory_compliance. Damage due to servicing that secure the power button board to the palm rest. 6 Push and release the tabs that is not authorized by Dell is not covered by periodically touching an unpainted metal surface (such as a connector...
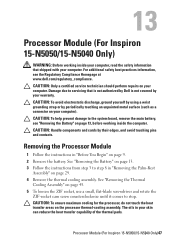
Owners Manual - Page 47

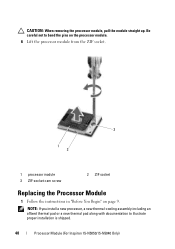
...the system board, remove the main battery, see the Regulatory Compliance Homepage at www.dell.com/regulatory_compliance. CAUTION: Handle components and cards by your computer. See "Removing the... 4 Remove the thermal cooling assembly. Processor Module (For Inspiron 15-N5050/15-N5040 Only)47 13 Processor Module (For Inspiron 15-N5050/15-N5040 Only) WARNING: Before working inside your skin can...
Owners Manual - Page 48

Be careful not to illustrate proper installation is shipped. 48 Processor Module (For Inspiron 15-N5050/15-N5040 Only) NOTE: If you install a new processor, a new thermal-cooling assembly including an affixed thermal pad or a new thermal pad along with documentation ...
Owners Manual - Page 49

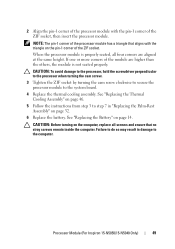
... secure the processor module to do so may result in "Replacing the Palm-Rest Assembly" on page 32. 6 Replace the battery. Processor Module (For Inspiron 15-N5050/15-N5040 Only) 49 2 Align the pin-1 corner of the processor module with the triangle on the pin-1 corner of the ZIF socket. If one...
Owners Manual - Page 50

50 Processor Module (For Inspiron 15-N5050/15-N5040 Only)

Similar Questions

Need Recovery Disk For Dell Inspiron N5050 Windows 7. Thank You
Need Dell Recovery disk. Inspiron N5050 windows 7. Laptop computer
(Posted by charlienaomie 8 years ago)
Dell Laptop Inspiron N5050 Drivers For Windows Xp
dell laptop Inspiron N5050 drivers for windows xp
(Posted by Umeshb1986 11 years ago)
Ask a New Question
Use the box below to post a new question about this Dell product .
Points & Prizes
  • You can earn points for nearly everything you do on HelpOwl.com
  • You can trade in those points for gift cards at leading retailers such as Amazon.com and Walmart
  • It's that simple!
See How it Works
Create a Free Account

Dell Manuals

Find free Dell Inspiron N5050 manuals and user guides available at ManualOwl.com. Try out our unique manual viewer allowing you to interact with manuals from directly within your browser!

Dell Reviews

View thousands of Dell user reviews and customer ratings available at ReviewOwl.com.

Contact Information

Complete Dell customer service contact information including steps to reach representatives, hours of operation, customer support links and more from ContactHelp.com.

Scoreboard Ratings

See detailed Dell customer service rankings, employee comments and much more from our sister site.

Dell Recalls

Find comprehensive Dell recall information updated hourly on RecallOwl.com.